Easy Origami Puffy Heart: Step-by-Step Paper Craft
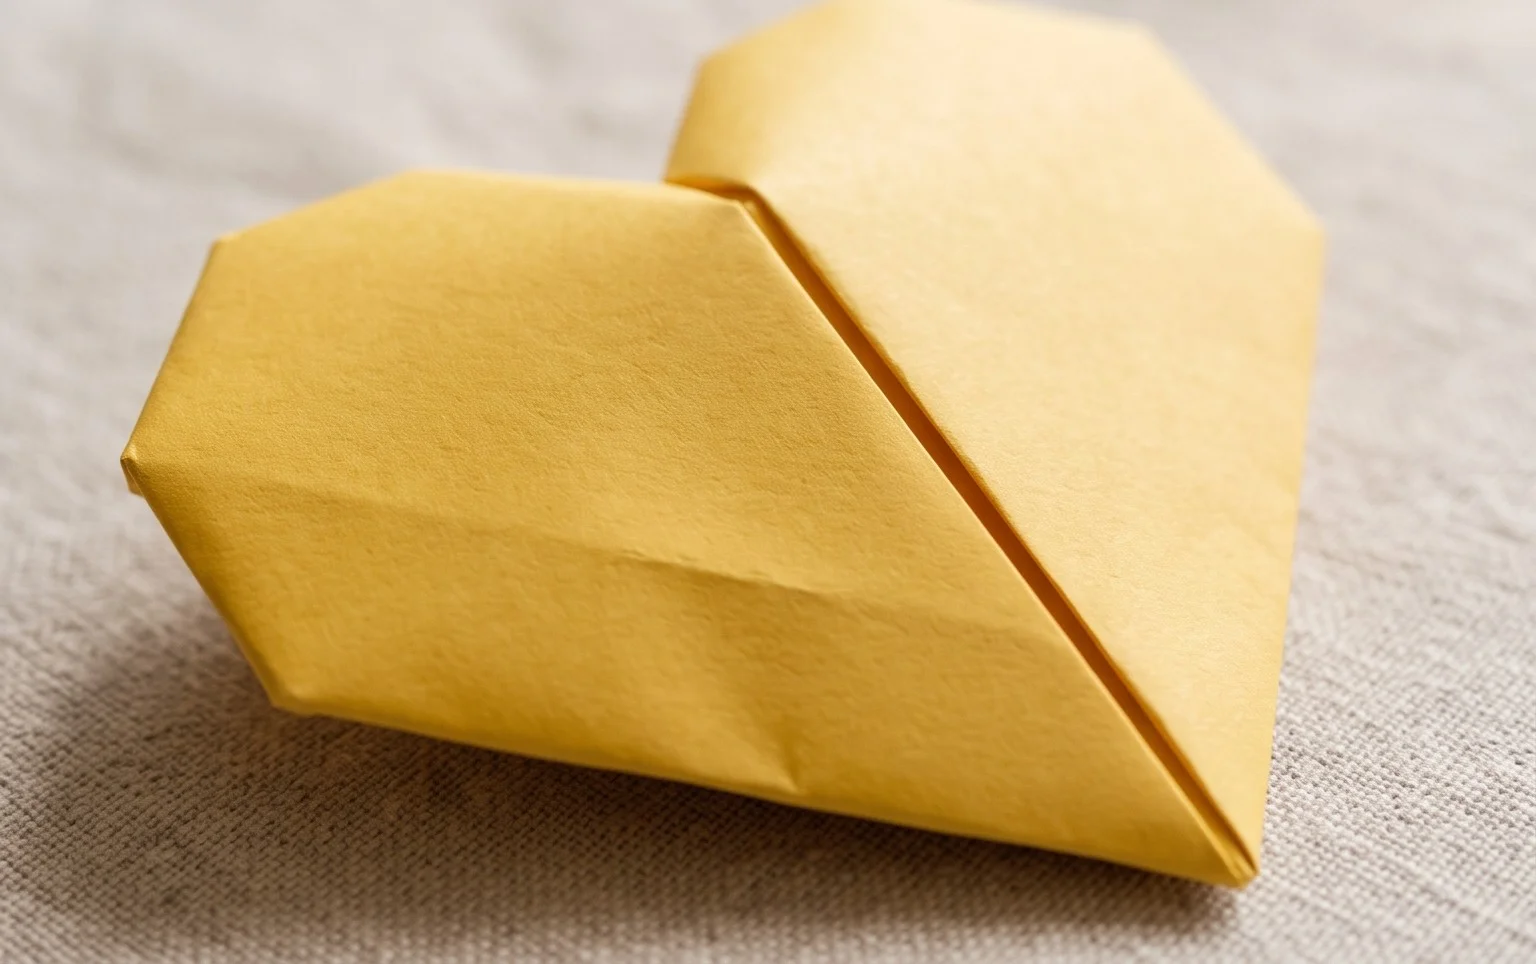
Origami Puffy Hearts are such a delightful and surprisingly easy project to make! Imagine a charming, three-dimensional heart, slightly rounded and plump, with a lovely thickness that makes it feel substantial and huggable. It’s perfect for anyone – from complete beginners to kids looking for a fun craft, and they make incredibly sweet decorations or thoughtful handmade gifts. In just about 5-10 minutes, you’ll have your very own puffy heart ready to give or display.
In this tutorial, I’ll guide you step-by-step with clear pictures to help you fold your way to a beautiful puffy heart. We’ll cover all the essential folds and techniques needed to achieve that signature plump shape. Get ready to fold some love!

Origami Puffy Heart: Easy Instructions with Pictures
Hello fellow paper enthusiasts! Today, we’re going to embark on a delightful origami journey to create a puffy heart. This is a wonderfully simple project, perfect for beginners and a charming way to express affection. The “puffy” aspect comes from a clever little manipulation at the end that gives our heart a lovely three-dimensional quality. I’ll guide you step-by-step, assuming you’re completely new to origami. So, grab your paper, take a deep breath, and let’s fold!
Choosing Your Paper: The Foundation of a Great Fold
Before we dive into folding, let’s talk about the star of our show: the paper. The right paper makes all the difference in how your origami turns out, and for this puffy heart, it’s especially important for achieving that lovely volume.
- Type of Paper: For this project, I highly recommend using traditional origami paper. It’s thin enough to make multiple folds without becoming too bulky, yet strong enough to hold its shape. Standard copy paper can work in a pinch, but it’s a bit thicker and might make the final puffiness a little less pronounced.
- Weight: Origami paper typically ranges from 70 to 90 gsm (grams per square meter). This weight is ideal. Anything significantly heavier might be difficult to fold precisely, and anything much lighter could be too flimsy.
- Size: For your first few attempts, I suggest starting with a square of paper that’s 6 inches by 6 inches (or approximately 15cm x 15cm). This size is manageable for beginners, allowing you to see your folds clearly and practice the techniques without feeling cramped. Once you’re comfortable, you can certainly experiment with larger or smaller squares.
- Single or Double-Sided: This is where you can have some fun with personalization! If you use single-sided origami paper, the heart will have a coloured side and a white side. This can create a lovely effect, with the white peeking through in certain areas or forming the inside of the puff. For a uniformly coloured heart, use double-sided origami paper. You can also use patterned paper, which can lead to some beautifully unique hearts! Just make sure the pattern you choose isn’t too busy, as it can sometimes obscure the folds.
The Base Folds: Building Blocks of Our Heart
Every origami model starts with a few fundamental folds. For our puffy heart, we’ll be using some very common ones. The key to good origami, especially for beginners, is to make these folds as crisp and accurate as possible. This means lining up edges and corners precisely and then running your fingernail or a bone folder firmly along the crease.
- Valley Fold: This is probably the most common fold. You bring one edge or corner to meet another edge or corner, and the crease you create dips inwards, like a valley.
- Mountain Fold: This is the opposite of a valley fold. You crease the paper so that it stands outwards, like a mountain peak. We’ll use this technique to unfold and refine some of our earlier valley folds.
- Diagonal Fold: This is simply a valley fold made by bringing opposite corners of a square together.
- Horizontal/Vertical Folds: These are valley folds made by bringing opposite edges together.
Remember, precision is your friend! Take your time with each fold. If a fold isn’t quite right, it’s okay to gently unfold it and try again.
The Fold Sequence: Let’s Make a Heart!
Now for the exciting part! We’re going to fold our puffy heart. I’ll walk you through each step in plain language. Imagine you’re looking at your paper right in front of you.
Step 1: The Initial Diagonal Fold.
Place your square of paper in front of you, coloured side up if you’re using single-sided paper. Take the bottom right corner and bring it up to meet the top left corner. Make a sharp crease along the fold. You now have a triangle. Unfold the paper. You should see a diagonal crease running from the bottom right to the top left.
Step 2: The Second Diagonal Fold.
Now, take the bottom left corner and bring it up to meet the top right corner. Crease firmly. Unfold the paper. You should now have two diagonal creases forming an ‘X’ on your paper. Keep the paper in front of you with the coloured side up.
Step 3: Folding the Bottom Edge Up.
Take the bottom edge of the paper and bring it up to meet the center horizontal crease (which you haven’t made yet, but will form as we proceed). Imagine a line running horizontally across the very middle of your square. Fold the bottom edge up so it aligns perfectly with this imaginary center line. Crease very well. You should now have a horizontal crease running across the middle of your square. Make sure the bottom edge is neatly aligned with where the diagonal creases intersect.
Step 4: Folding the Top Edge Down.
Now, take the top edge of the paper and bring it down to meet the same center horizontal crease you just folded to. Crease very well. Your paper should now look like a long, thin rectangle with two horizontal creases. If you were to unfold this, you’d have three horizontal sections.
Step 5: The Horizontal Center Fold.
Flip your paper over. Now, bring the left edge of the paper over to meet the right edge. Crease very firmly. You should have a vertical crease running down the center of your paper. Unfold the paper. You should now see a vertical crease that intersects with your two diagonal creases and your two horizontal creases, dividing your square into quarters.
Step 6: Creating the Preliminary Base.
This step is a little more visual. Look at your paper. You have the main horizontal crease in the middle. You’re going to bring the bottom edge up to meet that horizontal crease, and at the same time, you’ll be using the diagonal creases you made earlier to bring the sides inwards. Let’s rephrase: With the coloured side still facing up, pick up the bottom edge. Bring it up towards the horizontal crease in the middle. As you do this, you’ll notice the sides of the paper naturally want to collapse inwards along the diagonal creases. Gently push the sides inwards so they meet in the middle. You should end up with a shape that looks like a kite with a flat top. Ensure the bottom point is sharp and the top edge is straight.
Step 7: Folding the Left and Right Corners Up.
Take the left flap of the kite shape and fold its bottom edge up to meet the horizontal line at the top of the kite. Crease well. Do the same for the right flap. Fold its bottom edge up to meet the same horizontal line at the top. Crease well. Your shape should now look more like a diamond with two little triangular flaps sticking out at the top corners.
Step 8: Folding the Top Point Down.
Now, take the very top point of the diamond shape (where the two flaps meet) and fold it downwards. You want to fold it down so that the point just touches the top edge of the two triangular flaps you just folded up. Crease firmly. This will start to round off the top of your heart.
Step 9: Flipping and Folding Again.
Flip your entire model over to the other side. You’ll see a slightly different configuration. Take the left point of this side and fold it inwards towards the center. You don’t need to fold it all the way to the center line; about two-thirds of the way is good. Crease. Do the same with the right point. Fold it inwards towards the center, again about two-thirds of the way. Crease.
Step 10: Creating the Puff.
This is the magical step! Look at the top of your heart. You’ll see those two little points that you folded down in Step 8. Gently take those two points and pull them outwards, slightly away from the body of the heart. As you do this, you’ll see the paper inside the heart begin to inflate. You can gently blow into the small opening at the bottom of the heart to help it puff up further, or just use your fingers to gently encourage the air inside. Be gentle – you don’t want to tear the paper. Continue to pull outwards slightly on the top points until you achieve a pleasing puffiness. You can also gently push inwards on the sides of the heart to help define its shape.
Congratulations! You’ve just folded a beautiful puffy origami heart!
Common Pitfalls and How to Avoid Them
Even with the best intentions, sometimes our origami doesn’t turn out exactly as we’d hoped. Here are a few common areas where beginners might stumble with the puffy heart, and how to steer clear of them:
- Imprecise Folds in the Base: This is by far the most common issue. If your initial diagonal or horizontal folds aren’t perfectly aligned, all subsequent folds will be off. How to avoid: Take your time and really focus on lining up corners and edges. Press down firmly with your fingernail to create crisp creases. It’s better to unfold and refold a creased edge if it’s not perfect than to proceed with a wobbly foundation.
- Over-Puffing or Tearing: When you get to the final step of puffing the heart, it’s tempting to go all out! However, if you pull too hard or too quickly, you risk tearing the paper, especially with thinner origami paper or if your folds weren’t clean. How to avoid: Be gentle and patient. Inflate the heart gradually, using your fingers to guide the paper. If you’re using a thinner paper, you might only need a gentle puff or a slight pull on the top corners to achieve the desired effect.
- Uneven Pockets: Sometimes, one side of the heart might puff up more than the other, or the pockets at the top might not look symmetrical. This is usually a result of the earlier folds not being perfectly mirrored on both sides of the paper. How to avoid: Pay close attention when folding the left and right sides in Steps 7 and 9. Try to make them as symmetrical as possible. After puffing, you can gently adjust the paper with your fingers to even out the shape.
Varying Your Puffy Heart: Unleash Your Creativity!
Once you’ve mastered the basic puffy heart, the fun really begins! Here’s how you can experiment and make your hearts unique:
- Size: As mentioned, starting with a 6-inch square is great for practice. But don’t hesitate to try larger squares for bigger hearts or smaller ones if you’re aiming for a whole garland or embellishments. Just remember that smaller paper requires more delicate folding.
- Paper Pattern: This is where your puffy hearts can really shine! Use patterned origami paper for a festive or themed look. Consider paper with small dots, stripes, or even delicate floral designs. You can also use scrapbook paper with interesting textures or patterns.
- Colour: Obviously, red and pink are classic choices for Valentine’s Day or romantic gestures. But why stop there? Use blue for a baby boy’s shower, green for St. Patrick’s Day, or any colour that suits the occasion or your personal preference. You can also combine colours by using a different coloured paper for the inside of the puff if you’re feeling adventurous and know how to manipulate the folding slightly differently.
- Adding Embellishments: Once your heart is folded, you can add a touch of sparkle with glitter glue, a small bead glued to the center, or even a tiny ribbon tied around it.
Displaying and Gifting Your Puffy Hearts
These adorable puffy hearts are so versatile! Here are some ideas for how to enjoy your creations:
- Decorations: String several puffy hearts together with thread or ribbon to create a charming garland. Hang them from a branch, a doorway, or across a mantelpiece. They also make wonderful additions to table centerpieces.
- Gift Toppers: Instead of a traditional bow, tie a puffy heart onto the ribbon of a gift. It’s a sweet and handmade touch that shows you’ve put extra thought into the present.
- Greeting Cards: Glue a small puffy heart onto a handmade card to add a dimensional element. It’s perfect for birthdays, anniversaries, or just because.
- Love Notes: Write a short message on the back of the heart and leave it for a loved one as a surprise. It’s a simple yet heartfelt gesture.
- Party Favors: For weddings, birthdays, or other celebrations, small puffy hearts can serve as lovely and inexpensive party favors for your guests.
- Mobile Creations: Hang multiple hearts at different lengths from a hoop or frame to create a delicate and whimsical mobile.
I hope you’ve enjoyed learning how to fold this delightful puffy origami heart. It’s a project that’s as rewarding to make as it is beautiful to look at. Don’t be discouraged if your first few aren’t perfect – origami is a journey of practice and patience. Keep folding, keep creating, and most importantly, have fun!
Conclusion
Congratulations on folding your very own origami puffy heart! We hope you enjoyed this simple yet satisfying project. Don’t worry if your first attempt isn’t perfect; every fold is a learning experience, and practice makes perfect. We’d love to see your beautiful creations – feel free to share them with friends and family!
Ready for more fun? Try folding a traditional origami heart, or perhaps a delicate origami crane for good luck. There are endless possibilities with just a sheet of paper!
Continue exploring our site for more delightful paper crafts and origami tutorials. Happy folding!