Easy Origami Box with Lid: Step-by-Step Paper Craft
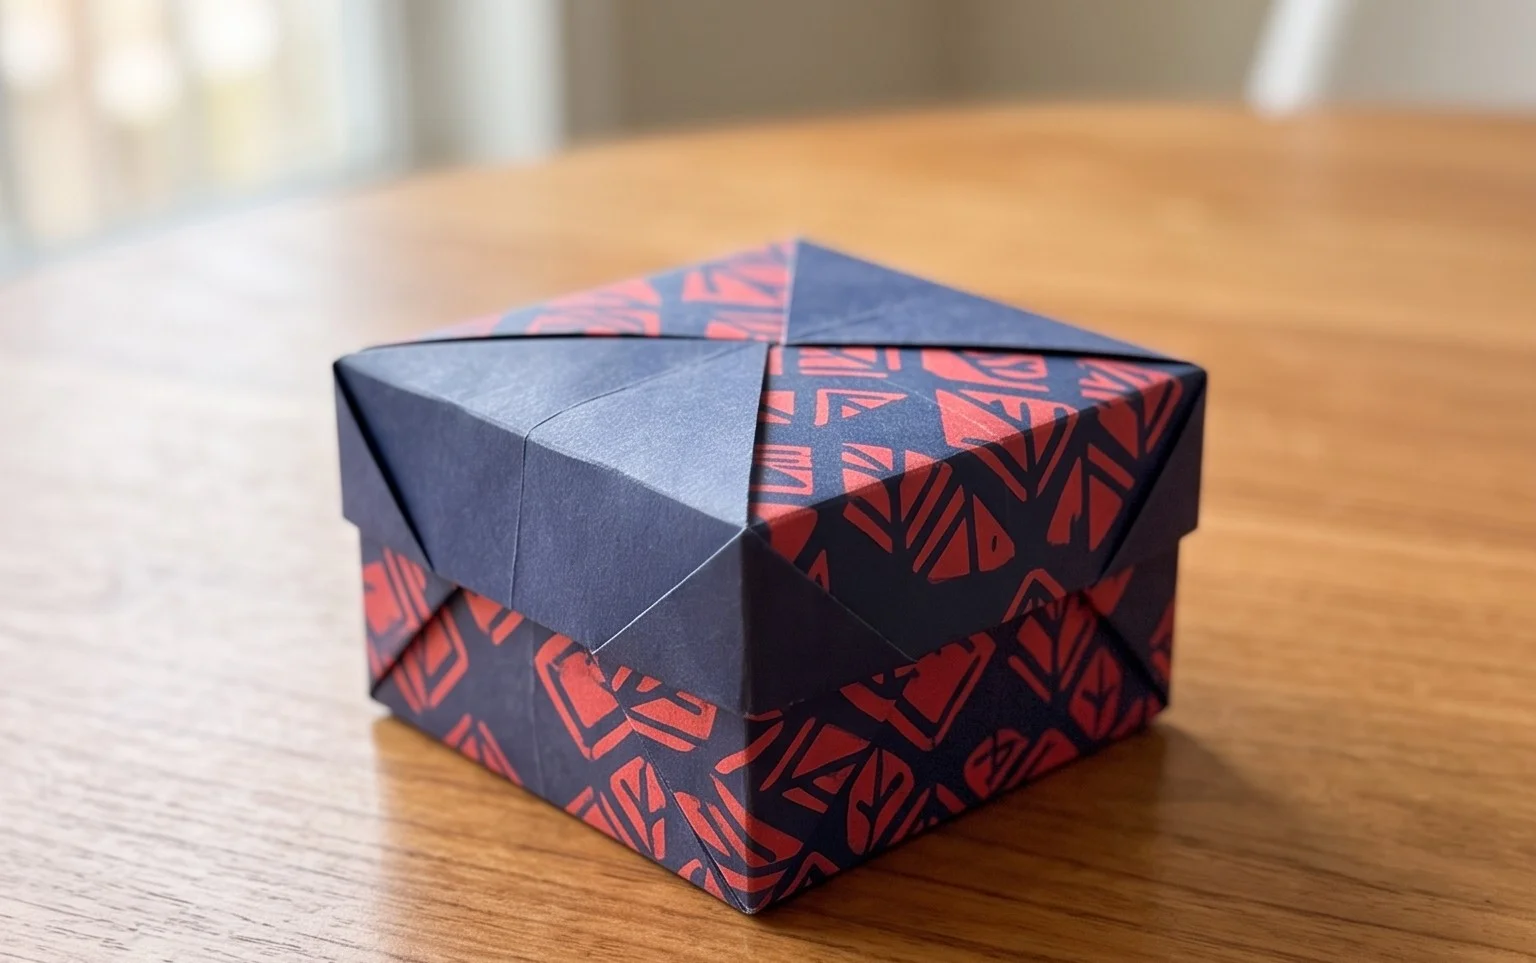
Easy and quick origami box, perfect for beginners and kids alike! Today, we’re going to fold a charming little box with a snug-fitting lid – a delightful little container that’s surprisingly simple to create. Imagine a neat, square box with clean lines, topped with a lid that sits just right, ready to hold tiny treasures, sweet treats, or even a small handwritten note.
This project is ideal for anyone new to origami, children looking for a fun craft, or even if you need a last-minute, handmade gift or a cute decorative accent. You can expect to have this lovely little duo folded in under 10 minutes! Throughout this tutorial, I’ll guide you step-by-step through each fold, showing you how to transform a simple square of paper into this functional and beautiful origami creation. Let’s get folding!
Crafting Your First Origami Box: A Simple Guide to a Charming Container
Hello fellow paper enthusiasts! Today, we’re diving into the wonderful world of origami with a project that’s both incredibly useful and surprisingly simple: an easy and quick origami box with a lid. This is the perfect project for beginners, a great way to repurpose beautiful paper, and a delightful way to present small gifts. You’ll be amazed at how quickly you can transform a flat sheet of paper into a sturdy, functional box. Let’s get started!
Choosing Your Perfect Paper
The paper you choose can really elevate your origami box. For this project, especially as a beginner, I highly recommend using standard origami paper.
Paper Type and Weight
Origami paper is designed to be folded cleanly and hold its shape well. It’s typically thin but strong, usually around 70-90 gsm (grams per square meter). This weight is ideal because it’s easy to fold precisely without being too flimsy. Avoid thicker cardstock or construction paper, as these can be difficult to crease sharply and may result in a bulky, less elegant box.
Paper Size
For this box, a square piece of paper is essential. Common origami paper sizes are 6 inches x 6 inches (15 cm x 15 cm) or 8 inches x 8 inches (20 cm x 20 cm). The larger the square, the larger your finished box will be. I find 6-inch squares are excellent for practicing and for creating small, charming boxes. If you’re using paper that isn’t pre-cut into a square, you can easily make one from a rectangular sheet.
Single vs. Double-Sided Paper
This is entirely up to your aesthetic preference!
* **Single-sided paper** has a coloured or patterned side and a white or plain side. When you fold the box, you’ll see a bit of the inside colour/pattern on the edges and bottom. This can be a lovely way to add a subtle touch of colour.
* **Double-sided paper** has colour or pattern on both sides. This will give you a box with a uniform look on both the inside and outside. Many origami papers come in beautiful coordinating colours on each side, which can create a very striking effect. For your first few boxes, either will work beautifully.
Understanding the Base Folds
Before we dive into the step-by-step instructions, let’s get familiar with a couple of fundamental folds that are crucial for a clean and sturdy origami box.
The Valley Fold
This is the most common fold. Imagine you’re creating a valley in the paper. You bring two edges or points together and crease the paper. The crease will dip downwards.
The Mountain Fold
This is the opposite of a valley fold. You fold the paper away from you, creating a ridge that points upwards. You’ll often create a mountain fold by folding along a crease you’ve already made.
Making Clean Folds
Clean folds are the backbone of good origami. Here’s how to achieve them:
* **Align precisely:** Take your time to align edges and corners perfectly before making a crease. Even a tiny misalignment can affect the final shape.
* **Use your fingernail or a bone folder:** Once your edges are aligned, run your fingernail firmly along the edge of the fold. For an even sharper crease, especially with thicker paper, a bone folder (a smooth, pointed tool used in bookbinding and paper crafts) is excellent. If you don’t have one, the back of a ruler or even a credit card can work in a pinch.
* **Crease in one direction:** Try to make your crease with a single, smooth motion rather than going back and forth.
Your Origami Box: A Step-by-Step Journey
This box is made in two parts: the base and the lid. They are made using the same method, just with slightly different sizes of paper. For the lid, you’ll typically use a piece of paper that is slightly larger than the base, so it fits over it.
Let’s start with the base.
Step 1: The Initial Diagonal Folds
Take your square piece of paper and place it in front of you with the coloured side facing down (if it’s single-sided).
* Bring the bottom edge up to meet the top edge, aligning them perfectly. Crease firmly along the middle. Unfold.
* Now, bring the left edge over to meet the right edge, aligning them precisely. Crease firmly along the middle. Unfold. You should now have a ‘+’ shape of creases in the center of your paper.
* Flip your paper over so the coloured side is facing up.
* Bring the bottom right corner up to meet the top left corner, aligning the points perfectly. Crease firmly along the diagonal. Unfold.
* Bring the bottom left corner up to meet the top right corner, aligning the points perfectly. Crease firmly along the diagonal. Unfold. You should now have an ‘X’ shape of creases on the coloured side.
Step 2: Forming the Center Square
With the coloured side still facing up, imagine the centre point where all your creases meet.
* Take each of the four corners and fold them inwards so that the point of each corner meets precisely at the centre point.
* As you fold each corner in, ensure that the edges of the paper lie flat against the surrounding paper.
* Crease each fold firmly. You should now have a smaller square in the centre, with four triangular flaps pointing outwards.
Step 3: Creating the Walls of the Box
Now we’re going to start forming the sides of our box.
* Keeping the paper in the same orientation, locate the top flap (the triangle pointing upwards). Fold the right edge of this flap inwards so it aligns with the vertical centre crease. Crease firmly.
* Now fold the left edge of the same top flap inwards so it aligns with the vertical centre crease. Crease firmly. You will have created a pointed shape at the top, with the original corner of the square now folded inwards.
* Repeat this exact same process for the remaining three flaps (right, bottom, and left). Fold the right edge of the right flap to the vertical centre crease, then the left edge of the right flap to the vertical centre crease. Then do the same for the bottom flap and the left flap.
* You will now have a diamond shape with four pointed sections.
Step 4: Folding Up the Sides**
This is where our box truly begins to take shape.
* Take the bottom point of the diamond (the one furthest away from you) and fold it upwards so the point just touches the bottom edge of the central square you created in Step 2. Crease firmly.
* Now, take the top point of the diamond (the one closest to you) and fold it upwards so the point just touches the top edge of the central square. Crease firmly.
* You should see two rectangular sections now standing up.
Step 5: Securing the Sides
We need to tuck in those points to secure the box.
* Look at the two rectangular sections you just folded up. You’ll notice that the points from Step 3 are still visible, sticking out.
* Take the right side of the rectangular section closest to you. Gently lift the flap from Step 3 that’s tucked underneath. You want to unfold just the very tip of that flap (the part sticking out).
* Now, carefully tuck the point of the flap *inside* the pocket that the folded-up side has created. Guide it in as far as it will comfortably go. Crease the fold of the box wall firmly again.
* Repeat this for the left side of the same rectangular section, tucking the point into the pocket.
* Now, turn your origami over and repeat this tucking process for the other two sides. You’ll be tucking in the points from the flaps into the pockets created by the other two folded-up walls. This might feel a little fiddly at first, but take your time and gently guide the paper.
Step 6: Final Shaping**
You should now have a beautiful, completed box! Gently open up the sides and flatten the base if needed. The lid is made using the exact same sequence of folds, but you’ll start with a slightly larger square of paper. This ensures it fits snugly over the base.
Common Pitfalls and How to Avoid Them
Even with simple projects, it’s easy to hit a snag. Here are a couple of places beginners often find themselves struggling, and how to overcome them:
1. Misaligned Corners and Edges in Step 1:**
This is the most common issue and it has a ripple effect. If your initial diagonal folds aren’t perfectly aligned, the centre point won’t be precise, leading to problems in Step 2 and beyond.
* **Avoidance:** Take your time! Before making any crease, hold the paper up to the light or check visually that the edges and corners are perfectly lined up. Don’t rush this crucial first step. It’s better to take an extra 30 seconds here than to have a wonky box.
2. Incomplete or Loose Tucks in Step 5:**
This is where the box can come undone or look untidy. If the flaps aren’t tucked in securely, the sides can pop open.
* **Avoidance:** Gently but firmly guide the points into the pockets. Once tucked, re-crease the edges of the box walls to hold everything in place. Don’t be afraid to apply a bit of pressure to ensure the paper is snug. If a tuck feels loose, try unfolding it slightly and re-tucking it, ensuring the paper goes as far into the pocket as possible.
Varying Your Origami Box: Get Creative!
This is where the box can come undone or look untidy. If the flaps aren’t tucked in securely, the sides can pop open.
* **Avoidance:** Gently but firmly guide the points into the pockets. Once tucked, re-crease the edges of the box walls to hold everything in place. Don’t be afraid to apply a bit of pressure to ensure the paper is snug. If a tuck feels loose, try unfolding it slightly and re-tucking it, ensuring the paper goes as far into the pocket as possible.
Varying Your Origami Box: Get Creative!
The beauty of origami is its versatility. Here are some ways you can customize your boxes:
Size Variation
This is the easiest way to change your box. Simply start with different sized squares of paper. If you want a smaller box, use 4-inch squares. For a larger box, use 10-inch squares. Remember to make the lid paper about 1/4 inch (or about 0.5 cm) larger than the base paper for a good fit. For example, if your base is from a 6-inch square, use a 6.25-inch square for the lid.
Paper Pattern and Colour
* **Patterns:** Experiment with patterned origami paper, wrapping paper, or even old maps or book pages! The possibilities are endless. Be mindful that very busy patterns might obscure the clean lines of the folds.
* **Colour Combinations:** Use coordinating colours for the base and lid for a sophisticated look. Or, go for a bold contrast for a playful feel. Single-sided paper allows you to have a different colour inside and out, adding another layer of customization.
Embellishments
Once your box is folded, you can add further touches. A simple ribbon tied around the middle, a small sticker on the lid, or even a light dusting of glitter can make your box even more special.
Ideas for Displaying and Gifting Your Finished Model
These little boxes are more than just containers; they’re miniature works of art!
Gifting
* **Jewelry:** Perfect for a special necklace, pair of earrings, or a ring.
* **Small Treats:** Fill them with chocolates, candies, or small baked goods.
* **Craft Supplies:** Ideal for holding beads, buttons, or tiny sewing notions.
* **Memories:** Tuck in a small photograph, a dried flower, or a handwritten note.
* **Party Favors:** Create a set of identical boxes for guests at a party or wedding.
Display**
* **Desk Organizer:** Use them to hold paperclips, pushpins, or spare change on your desk.
* **Shelf Decor:** Arrange a collection of boxes in varying sizes and colours on a shelf for a charming display.
* **Craft Room Storage:** Keep your small, precious origami supplies organized and accessible.
I hope you’ve enjoyed this journey into creating your very own origami box. It’s a simple project, but one that brings a lot of joy and utility. Don’t be discouraged if your first few aren’t perfect; practice truly makes perfect in origami. Happy folding!
Conclusion
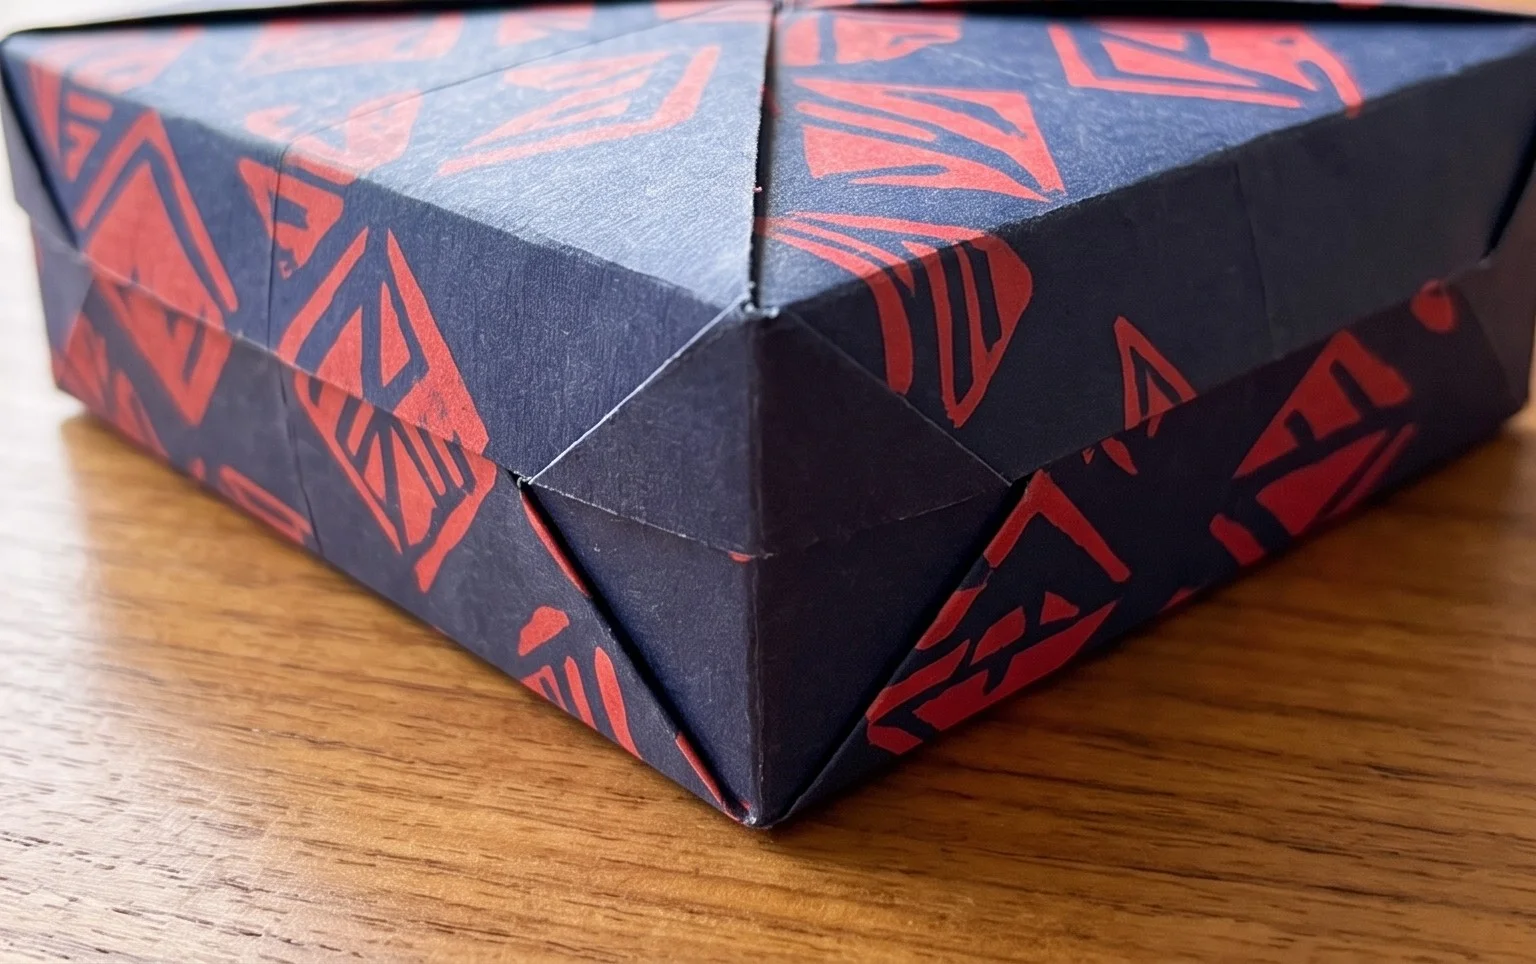
Congratulations on folding your very own easy and quick origami box! We hope you enjoyed this fun and rewarding project. Don’t worry if your first attempt isn’t perfect; every fold is a step towards mastery. The beauty of origami is that practice makes perfect, and you’ve just taken your first step. We’d love to see your finished creation! Share it with friends or family – they’ll be impressed with your paper folding skills. Ready for more? Try making a box with patterned paper for a unique touch, or experiment with slightly larger paper to create a bigger container. There’s a whole world of papercraft waiting for you to explore!