Easy Origami Brachiosaurus: Step-by-Step Paper Craft
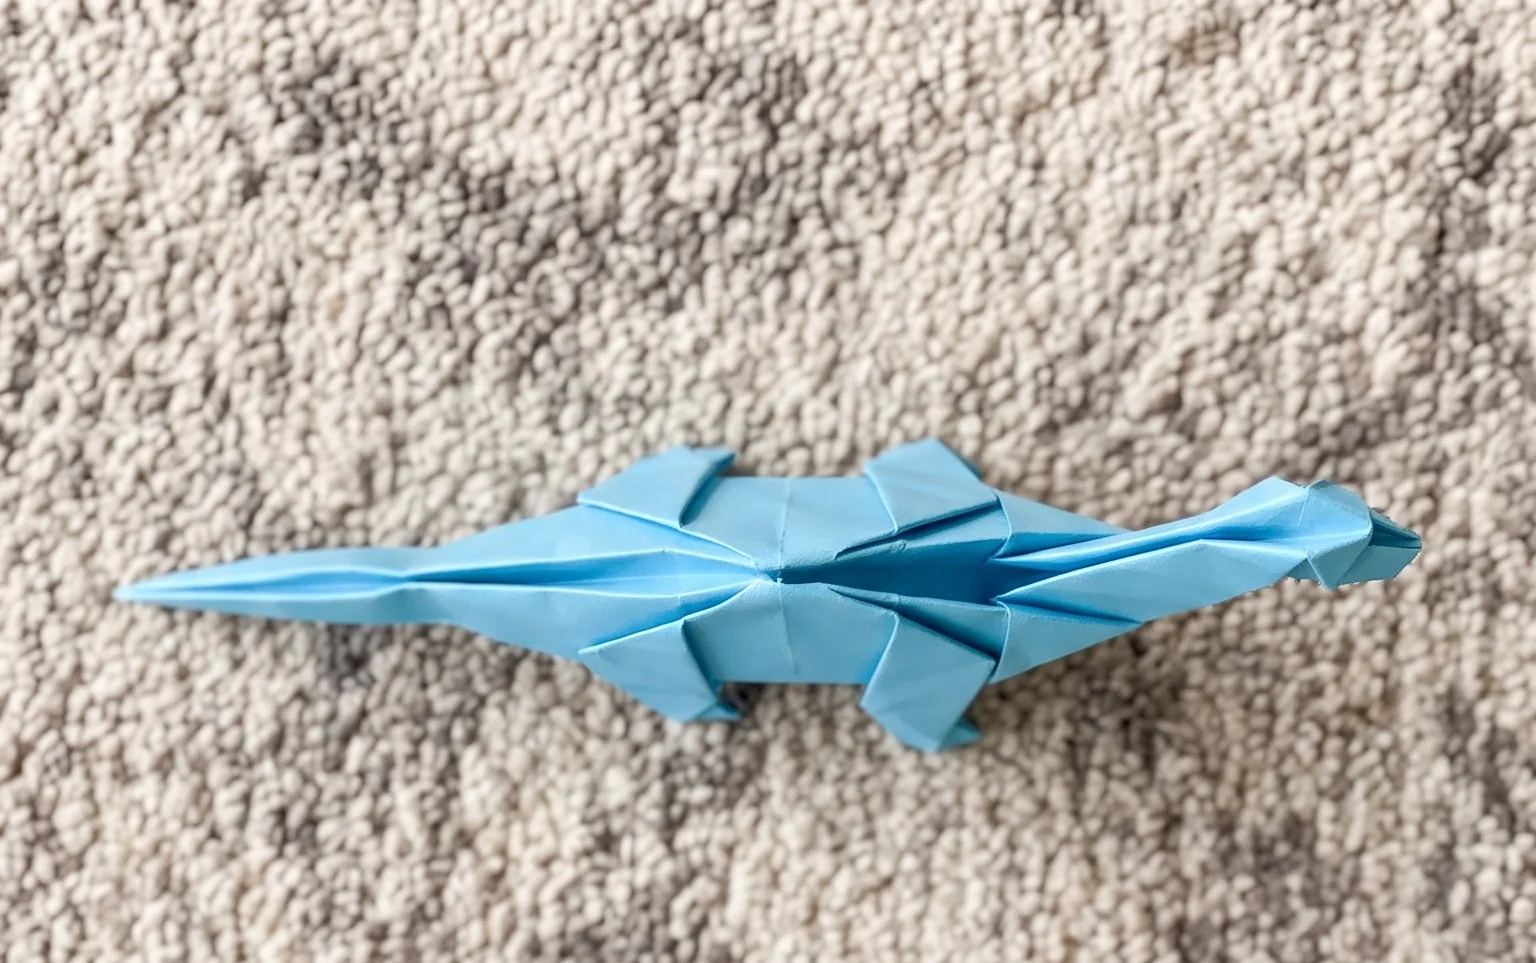
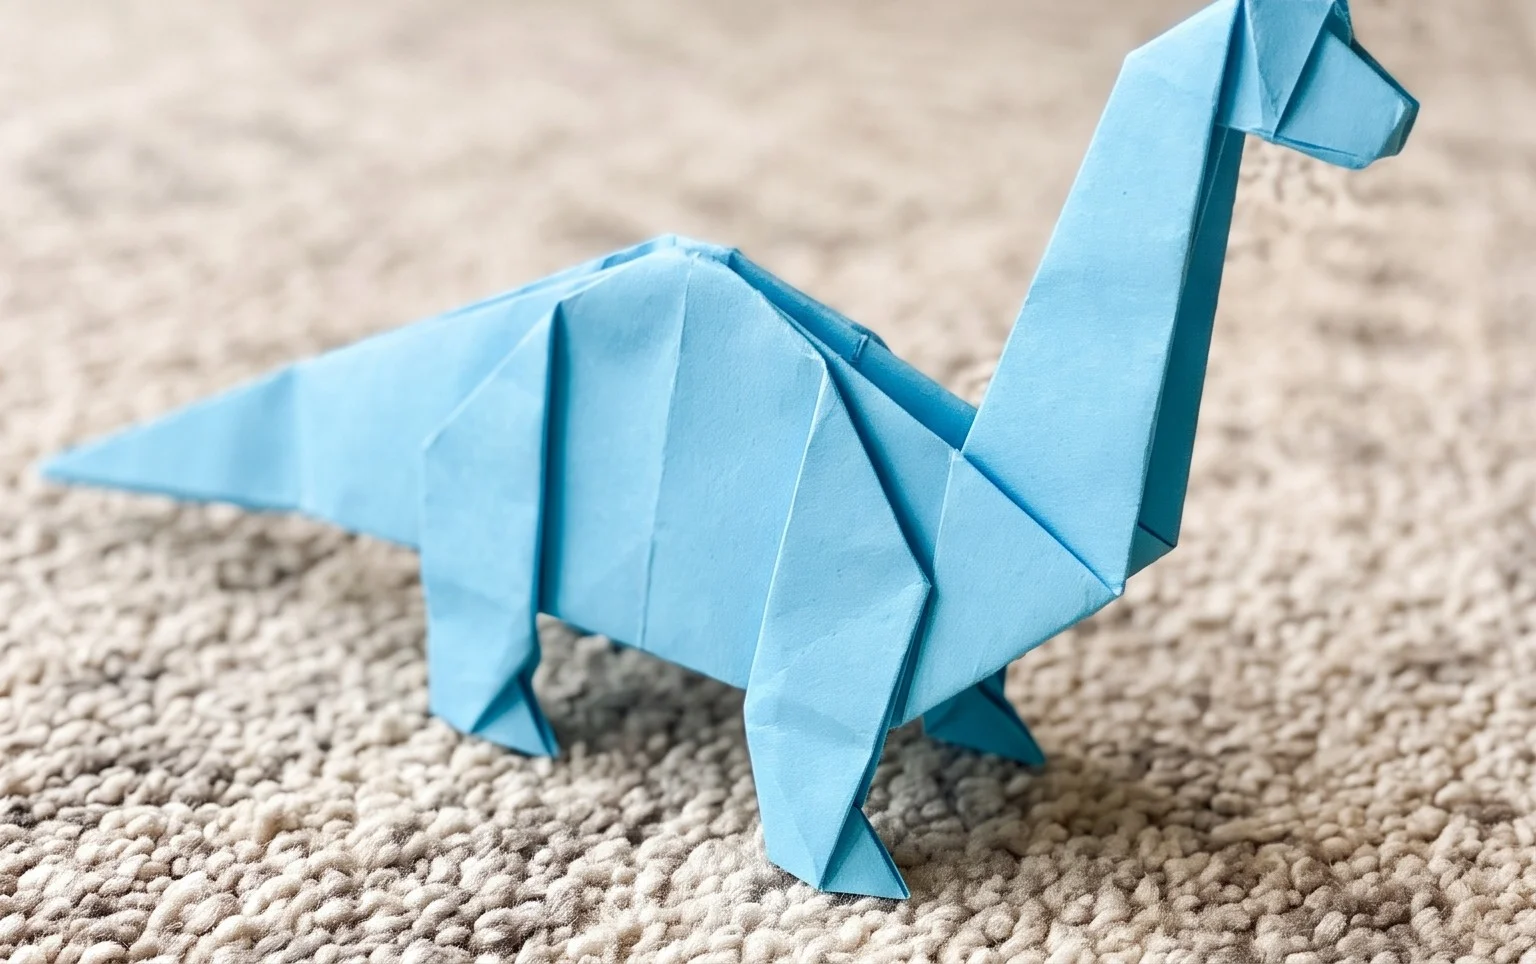
Origami Dinosaur fun is about to begin! Today, we’re folding a fantastic Brachiosaurus, a gentle giant of the prehistoric world. Imagine a graceful creature with a long, arching neck, a sturdy body, and four strong legs ready to roam. This model is perfect for absolute beginners and kids who love dinosaurs. You’ll have your very own paper Brachiosaurus in about 15-20 minutes! We’ll learn simple, classic origami folds that create a recognizable shape without any complicated steps. Get ready to transform a flat piece of paper into a magnificent, ancient reptile. Let’s get folding!
Origami Dinosaur: Easy Brachiosaurus Instructions
Hello there, origami enthusiasts! Today, we’re embarking on a prehistoric adventure and folding our very own Brachiosaurus. This is a fantastic beginner-friendly model that captures the majestic long neck and sturdy build of this gentle giant. Don’t worry if you’re new to origami; I’ll guide you through each step with clear, plain language so you can follow along without needing any diagrams. Let’s get folding!
Choosing Your Paper: The Foundation of Your Fossil
The paper you choose is crucial for a successful origami model. For this Brachiosaurus, I recommend using standard origami paper.
*
Type: Kami is the go-to for most origami. It’s thin enough to fold neatly but strong enough to hold creases. You can also use printer paper in a pinch, but it’s a bit thicker and might make the final model a little bulkier.
*
Weight: Standard origami paper is usually around 70-80 gsm (grams per square meter). This weight is perfect for this model, allowing for crisp folds and a sturdy final form.
*
Size: For your first attempt, I’d suggest starting with a square piece of paper that’s at least 6 inches (15 cm) by 6 inches. This size gives you enough room to maneuver your folds and see your progress clearly. As you get more comfortable, you can experiment with smaller or larger sizes.
*
Single or Double-Sided: This model looks best with single-sided origami paper. Typically, one side is coloured, and the other is white. This allows you to have a coloured dinosaur with white on the inside of some folds, which adds a nice subtle detail. If you only have double-sided paper, don’t worry; it will still work beautifully and give you a vibrantly coloured dinosaur.
The Base Folds: Building Blocks for Your Brachiosaurus
Before we start shaping our dinosaur, we need to establish some foundational folds. These will guide our subsequent steps and ensure our model is symmetrical and well-defined.
The Preliminary Base
This is a very common base in origami and will form the foundation for many models.
1. Start with your square piece of paper white side up (if it’s single-sided).
2. Fold the paper in half diagonally by bringing the bottom-right corner up to meet the top-left corner. Crease firmly.
3. Unfold the paper.
4. Now, fold the paper in half diagonally again, this time bringing the bottom-left corner up to meet the top-right corner. Crease firmly.
5. Unfold the paper. You should now have an “X” crease pattern on your paper.
6. Flip the paper over so the coloured side is facing up.
7. Fold the paper in half horizontally by bringing the bottom edge up to meet the top edge. Crease firmly.
8. Unfold the paper.
9. Fold the paper in half vertically by bringing the left edge over to meet the right edge. Crease firmly.
10. Unfold the paper. You should now have a “+” crease pattern on the coloured side, and an “X” on the white side.
11. Now, we’re going to collapse the paper into the preliminary base. With the coloured side still up, push the left and right edges inwards along their creases. As you do this, the top flap will naturally come down, and the entire model will collapse into a smaller square. The open edges should all be at the bottom, and the closed point should be at the top. This is your preliminary base.
The Bird Base
This is another fundamental base that we’ll adapt for our Brachiosaurus.
1. Start with your preliminary base with the open end pointing towards you.
2. Take the right flap of the top layer and fold its bottom edge to meet the center vertical crease. Crease firmly.
3. Repeat with the left flap of the top layer, folding its bottom edge to meet the center vertical crease. Crease firmly. You’ll now have two “kite” shapes meeting in the middle.
4. Now, take the top triangular point of the flap you just folded and fold it down over the two kite shapes you just created. Crease firmly.
5. Unfold the last three folds you made (the two kite folds and the top triangle fold).
6. Lift the very top layer of paper upwards from the bottom point, opening it up along the horizontal crease you made in step 4.
7. As you lift, use the creases you made in steps 2 and 3 to fold the sides inwards. This is called a petal fold. The paper should naturally flatten into a diamond shape.
8. Flip the entire model over.
9. Repeat steps 2 through 7 on this side. You should now have a diamond shape with two “legs” at the bottom. This is your bird base.
Step-by-Step Folding Sequence
Now that we have our bird base, let’s transform it into a magnificent Brachiosaurus!
1. Begin with your bird base, ensuring the two “legs” are pointing towards you.
2. Take the right “leg” of the top layer and fold its outer edge to meet the center vertical crease. Crease firmly.
3. Repeat with the left “leg” of the top layer, folding its outer edge to meet the center vertical crease. Crease firmly. You’ve essentially made two narrower kite shapes again.
4. Flip the model over and repeat steps 2 and 3 on the other side. Your model should now be narrower, with four “legs” pointing downwards.
5. Take the entire right side of the model and fold it over to the left, aligning the edge with the center crease. Crease firmly.
6. Flip the model over and repeat step 5 on the other side. You should now have a very long, thin shape.
7. We’re going to create the head and tail. Take the topmost point (this will be the head) and fold it downwards at an angle. The exact angle will depend on how long you want the neck to be, but aim for about a 45-degree angle. Crease firmly.
8. Now, take the bottommost point (this will be the tail) and fold it upwards at an angle, mirroring the head fold. Again, around a 45-degree angle works well. Crease firmly.
9. We need to shape the neck and tail. Take the folded-down head section and perform an inside reverse fold. To do this, open up the fold you just made slightly. Then, push the point inwards along the crease you just made, so it tucks inside the model, creating a more defined neck. Crease firmly.
10. Repeat step 9 for the tail. Open up the folded-up tail section slightly, and push the point inwards along the crease, tucking it inside to form a more defined tail. Crease firmly.
11. To create the head, take the very tip of the neck section and fold it down a tiny bit. This gives the Brachiosaurus its characteristic head shape. Crease firmly.
12. Now, let’s make the legs. On one side of the model, you’ll see two points at the bottom. Take the front “leg” and fold it downwards at an angle to create a front leg. Crease firmly.
13. Take the back “leg” on the same side and fold it downwards at an angle to create a hind leg. These legs should be roughly parallel. Crease firmly.
14. Flip the model over and repeat steps 12 and 13 on the other side, making sure the legs mirror the ones on the first side.
15. To make the legs stand out, you can gently pull the two halves of the body apart slightly. This will help your Brachiosaurus stand on its own.
Common Beginner Pitfalls and How to Avoid Them
Even with the best intentions, sometimes origami can be a bit tricky! Here are a couple of places beginners often run into trouble with this Brachiosaurus, and how to avoid them:
*
Creasing Too Lightly (or Too Hard):
This is probably the most common issue. If you don’t crease firmly enough, your model won’t hold its shape, and subsequent folds will be messy. On the other hand, creasing *too* hard can rip the paper, especially thinner origami paper. My advice is to use your fingernail or a bone folder (if you have one) to make sharp, precise creases. Practice makes perfect! For this model, focus on getting those base folds crisp.
*
Misaligning Corners and Edges:
This is particularly important when making the preliminary base and the bird base. If your corners aren’t meeting exactly or your edges aren’t aligning with the center crease, your final model will be lopsided. Take your time and carefully align everything before you make your crease. It’s better to take an extra few seconds to get it right than to have to start over.
*
The Inside Reverse Fold Troubles:
Steps 9 and 10, the inside reverse folds for the neck and tail, can be a bit fiddly at first. The key is to not unfold too much. Just open the existing fold enough to get your finger in and push the point inwards. Visualize the crease line you want to make and follow it carefully. Don’t be afraid to gently adjust as you go.
Varying Your Brachiosaurus: A Spectrum of Saurians
Once you’ve mastered the basic Brachiosaurus, you can have a lot of fun experimenting!
*
Size: As mentioned, you can use larger or smaller square pieces of paper. A larger piece will result in a more imposing dinosaur, while a smaller piece can be great for creating a whole herd!
*
Paper Pattern: Origami paper comes in an astonishing array of colours and patterns. Try using patterned paper for a unique look. Imagine a Brachiosaurus with a leafy pattern for camouflage, or a metallic paper for a futuristic feel!
*
Colour: Don’t limit yourself to traditional dinosaur colours. How about a bright blue Brachiosaurus, or a vibrant purple one? The possibilities are endless!
Displaying and Gifting Your Prehistoric Pal
Your finished Brachiosaurus is more than just a folded piece of paper; it’s a tiny work of art!
*
Display: You can proudly display your Brachiosaurus on a shelf, a desk, or as part of a larger diorama. Its sturdy design means it can often stand on its own, bringing a touch of prehistoric charm to any space.
*
Gifting: Origami makes for a wonderfully personal and thoughtful gift. A handmade Brachiosaurus is perfect for dinosaur enthusiasts of all ages, or as a unique decoration for a child’s room or a themed party. You could even fold a set of different coloured dinosaurs as a special surprise.
I hope you’ve enjoyed folding this Brachiosaurus with me! Remember, the most important thing is to have fun and be patient with yourself. Happy folding!
Conclusion
Congratulations! You’ve just folded your very own origami dinosaur, a magnificent Brachiosaurus. Don’t worry if your first attempt isn’t perfect – every origami journey starts with practice. The beauty of this origami dinosaur is in the process, so enjoy your creation! We’d love to see your finished Brachiosaurus, so feel free to share your paper masterpiece with friends or family.
What’s Next?
Ready for more paper adventures? Try folding our easy Stegosaurus or a fierce Tyrannosaurus Rex. And remember, there are countless other amazing paper projects waiting for you to explore!
