Easy Origami Vase: Step-by-Step Paper Craft
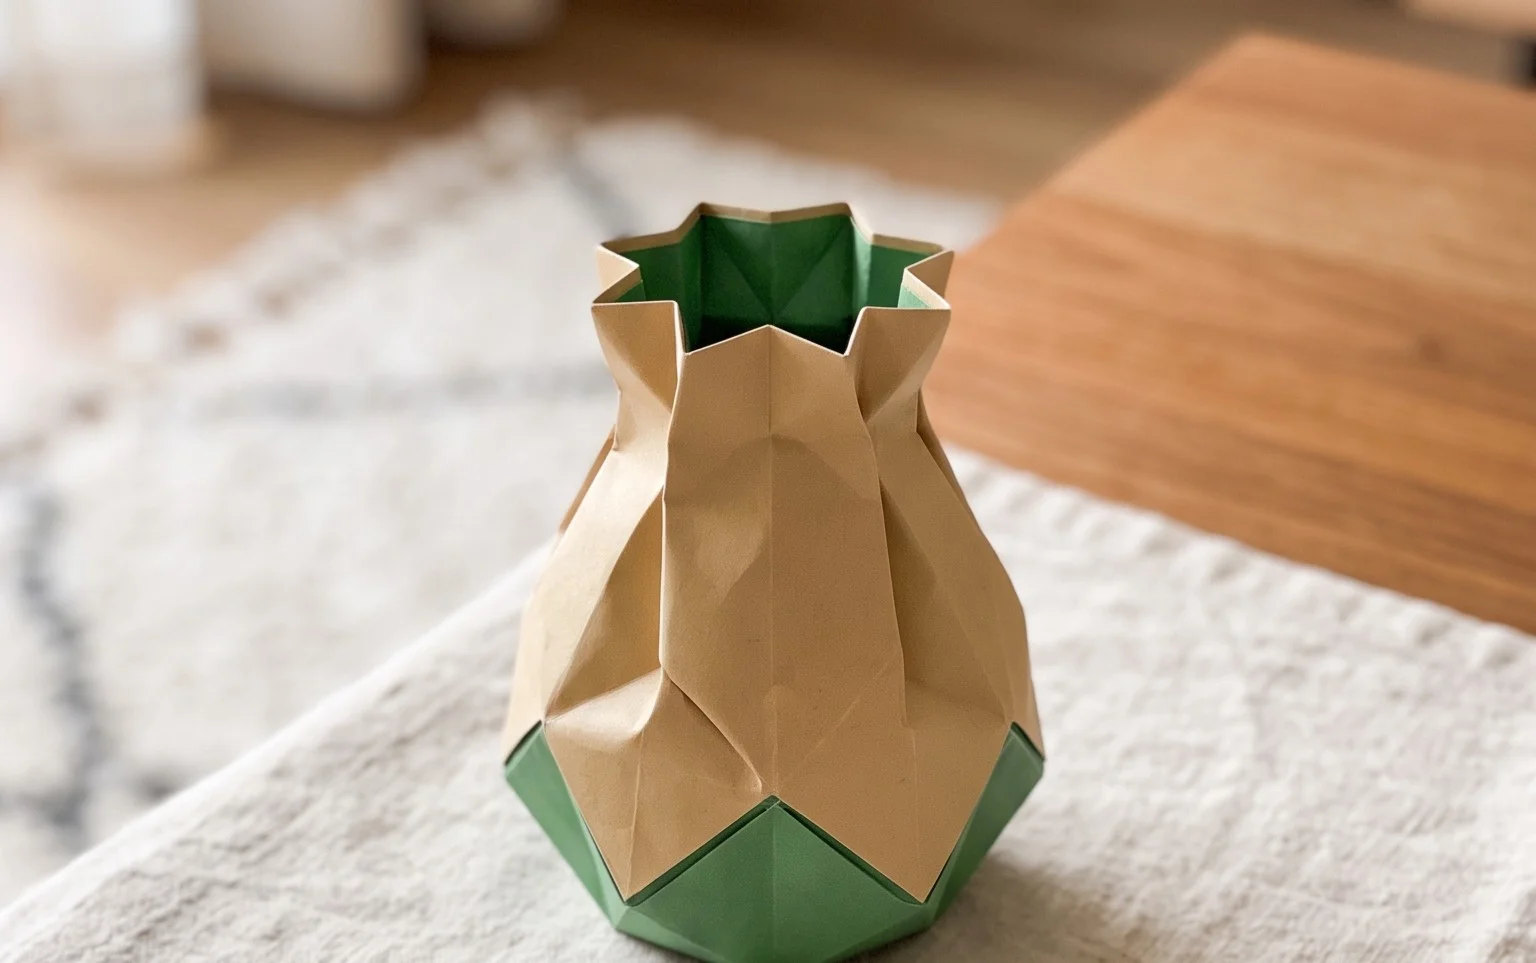
Origami vase tutorials are so much fun to create, and this one is no exception! Imagine a beautifully folded, structured vessel, perfectly formed and ready to hold your favorite small blooms or decorative picks. It’s a fantastic project for complete beginners and even older kids, making it an ideal choice for crafting a charming handmade gift or a delightful piece of home decor. You can expect to complete this lovely vase in around 15-20 minutes. Throughout this step-by-step guide, you’ll learn the foundational folds of origami, how to create sharp creases for a professional look, and how to transform a simple square of paper into something truly special. Let’s grab some paper and get started!
Origami Vase: Step-by-Step Instructions
Hello fellow origami enthusiasts! Today, we’re going to embark on a wonderful journey to create a beautiful origami vase. This project is fantastic for beginners, as it introduces some fundamental folds that you’ll see in many other origami models. The finished vase is not only a charming decorative piece but also surprisingly sturdy, capable of holding lightweight flowers or even just standing elegantly on its own. So, let’s gather our supplies and get folding!
Choosing Your Paper
The right paper can make a world of difference in origami. For this vase, I highly recommend using standard origami paper.
Origami paper typically comes in squares, which is perfect for this project. It’s usually thinner than regular printer paper, making it easier to fold multiple layers cleanly. The weight of origami paper is often described in grams per square meter (gsm). For this vase, anything between 70gsm and 90gsm is ideal. Too thin, and the vase might be a bit flimsy; too thick, and it can become difficult to make sharp creases, especially in the later stages.
You can use single-sided or double-sided origami paper. Single-sided paper has a coloured side and a white side. If you choose single-sided paper, consider which side you want to be the inside and which the outside of your vase. For a classic look, I often start with the coloured side facing down (white side up) if I want the outside of my vase to be white, or coloured side up if I want the outside to be coloured. Double-sided paper, with colour on both sides, offers a bolder look and is also a great choice.
The size of your paper will determine the size of your finished vase. A standard origami paper size is 15cm x 15cm (approximately 6 inches x 6 inches). This will result in a lovely, medium-sized vase. If you want a larger vase, start with larger squares, like 20cm x 20cm or even 25cm x 25cm. Conversely, for a miniature vase, use smaller squares like 7.5cm x 7.5cm.
The Base Folds: Building Blocks of Our Vase
Before we dive into the vase itself, let’s make sure we’re comfortable with a couple of fundamental origami folds. These are the bread and butter of origami, and mastering them will make all your future projects easier.
The Valley Fold
A valley fold is the most common fold in origami. Imagine you’re creating a valley in a piece of paper. You bring one edge or corner to meet another, and then crease the paper down the middle of the join. For a clean valley fold, run your fingernail firmly along the crease. This sharpens the fold and makes subsequent steps much easier and neater.
The Mountain Fold
A mountain fold is the opposite of a valley fold. Instead of folding the paper inwards, you fold it outwards, creating a shape that resembles a mountain peak. Often, you’ll make a valley fold first and then reverse it to become a mountain fold. The key to a clean mountain fold is to also crease it firmly, just like a valley fold.
The Squash Fold
The squash fold is a bit more advanced but crucial for our vase. It involves opening up a flap of paper and pressing it flat. You’ll typically see this after you’ve made a couple of other folds, and it allows you to transform a pointed flap into a flatter shape. We’ll go into more detail on this when it comes up in the sequence.
Step-by-Step Origami Vase Construction
Now, let’s begin creating our beautiful origami vase! I’ll guide you through each step in plain language, so no worries if you’re new to this.
Let’s assume you’re starting with your coloured side up, white side down, for a coloured exterior. If you want a white exterior, simply flip your paper over so the white side is up.
1. Start with your square piece of paper in front of you, coloured side up.
2. Bring the bottom edge of the paper up to meet the top edge, aligning them perfectly. Crease firmly along the middle fold. You now have a rectangle, two layers thick.
3. Open up the rectangle. You should see a horizontal crease running across the middle.
4. Now, bring the left edge of the paper over to meet the right edge. Align them perfectly and crease firmly along the vertical fold. You now have a smaller rectangle, still two layers thick.
5. Open up this smaller rectangle. You should see both a horizontal and a vertical crease, dividing your square into four equal sections. This is your preliminary base.
6. Pick up the paper and orient it so it looks like a diamond, with one point facing you. The original creases you just made should be forming a cross.
7. Take the bottom point (the one closest to you) and bring it up to meet the top point. Crease firmly. You’ve now folded the diamond in half vertically.
8. Keep the paper folded. Take the right point of this folded shape and bring it over to meet the left point. Crease firmly. You now have a small triangle, four layers thick.
9. Now, we need to open up one of the points. Carefully locate the point that’s furthest to your right. This is a double layer. Gently pull this point open, as if you are going to unfold it. As you pull it open, you’ll see it wants to flatten. Use your fingers to guide it so that the point you were holding opens up into a flat diamond shape. The original fold lines you made will help guide this. This is a type of squash fold. You should now have a diamond shape with a flap on the right.
10. Turn the paper over. You will see a similar situation on this side, with a point facing to the left.
11. Take the point furthest to your left and gently pull it open, guiding it to flatten into a diamond shape, just as you did on the other side. You now have a double-sided diamond shape.
12. Orient the model so that the open edges are facing upwards, and the closed point is facing downwards. You should have two flaps on the top.
13. Take the top flap on the right side and fold its left edge inwards so that it aligns with the vertical centre crease. Crease firmly.
14. Take the top flap on the left side and fold its right edge inwards so that it aligns with the vertical centre crease. Crease firmly. You’ve now created two kite shapes at the top of your model.
15. Now, take the very top point of the right-hand kite shape and fold it down to meet the bottom point of the kite shape (where the two kite flaps meet the vertical centre crease). Crease firmly.
16. Repeat step 15 for the top point of the left-hand kite shape, folding it down to meet the bottom point of its kite shape. Crease firmly. You now have two triangular flaps pointing downwards.
17. Carefully lift the bottom point of the entire model. You’ll see that this point is actually made of four layers. You want to pull the very front layer upwards. As you pull it up, you’ll see it forms a pocket. Guide this layer upwards along the centre line, allowing it to open and flatten. This is another crucial squash fold where you’re opening up a pocket. As you flatten it, it will create the base of your vase.
18. Turn the model over. You’ll see the same situation on the other side. Pull the front layer of the bottom point upwards, guiding it to open and flatten into a base, mirroring what you did on the first side.
19. Now, gently open up the top of your vase. You should see two flaps on the top edge. Take the front flap and fold it backwards, tucking it into the pocket you’ve created on the back.
20. Now, take the remaining flap at the top (which was originally the back flap) and fold it forwards, tucking it into the pocket you’ve created on the front. This secures the top of your vase and gives it a neat edge.
21. Gently puff out the sides of your vase to give it volume. You can also carefully shape the base to make it stand more stably.
And there you have it! Your very own origami vase is complete!
Common Beginner Pitfalls and How to Avoid Them
As you gain experience, you’ll notice that certain steps can be a little tricky. Here are a couple of places beginners often stumble and how to avoid them:
* **Messy Creases:** This is probably the most common issue. If your creases aren’t sharp, the subsequent folds won’t line up correctly, and the final model will look a bit wonky.
* **How to Avoid:** Be deliberate with your folds. When bringing edges or corners together, align them precisely. Then, run your fingernail firmly along the entire length of the fold. Think of it as “setting” the crease. Don’t be afraid to apply pressure. For thicker paper, you might even use the edge of a ruler.
* **Unclear Squash Folds:** Steps 9, 11, and especially 17 and 18, involve squash folds. These are where you open up a layered section and flatten it into a diamond shape.
* **How to Avoid:** Before you try to squash, make sure you understand which layers you are working with. Look closely at the edges. When you’re supposed to open a flap, gently tease the layers apart. The existing creases are your guides. Don’t force the paper. If it’s not flattening easily, you might need to slightly adjust a previous fold or ensure you’re pulling the correct layer. For the main vase opening (steps 17 and 18), visualize the pocket you’re creating. Gently pull the front layer upwards and let the paper naturally crease along the lines that want to form the base.
Varying Your Origami Vase
The beauty of origami is its versatility! Here are some ways you can customize your vase:
* **Size:** As mentioned earlier, the size of your starting square directly impacts the size of your vase. Experiment with different square sizes to create a collection of vases.
* **Paper Pattern and Colour:** This is where you can really let your creativity shine!
* **Patterned Paper:** Origami paper comes in an incredible array of patterns – floral, geometric, metallic, and more. Choose a pattern that suits your decor or the occasion.
* **Colour Combinations:** If you’re using single-sided paper, play with which side faces out. You could also try using different coloured papers for the inside and outside by starting with the white side up and then flipping it halfway through if you have a specific design in mind, though this is more advanced.
* **Washi Tape or Stickers:** Once your vase is folded, you can add decorative washi tape along the edges or even a few small stickers to add extra flair.
* **Texture:** While standard origami paper is great, you could also experiment with slightly textured papers for a unique feel. Just be mindful of the thickness.
Displaying and Gifting Your Origami Vase
An origami vase makes for a delightful addition to any home and is a thoughtful handmade gift.
* **Display:**
* **On a Shelf or Desk:** Its elegant shape makes it a perfect standalone decorative item.
* **With Faux Flowers:** For longevity, use beautiful faux flowers that won’t add weight or moisture.
* **With Dried Flowers or Grasses:** These are also excellent choices that won’t compromise the paper.
* **As a Holder:** Use it to hold pens, pencils, or even knitting needles on your craft desk.
* **Gifting:**
* **As Part of a Gift:** Fill a larger vase with small handmade treats, a gift card, or even some lovely origami cranes.
* **For Special Occasions:** A beautifully patterned vase makes a lovely gift for birthdays, holidays, or as a housewarming present.
* **With a Personal Touch:** Include a handwritten note explaining that you folded it yourself, highlighting the care and thought put into it.
I hope you’ve enjoyed making this origami vase. It’s a rewarding project that’s both beautiful and functional. Remember, practice makes perfect, so don’t be discouraged if your first attempt isn’t flawless. The most important thing is to enjoy the process of creating something with your own hands. Happy folding!
Conclusion
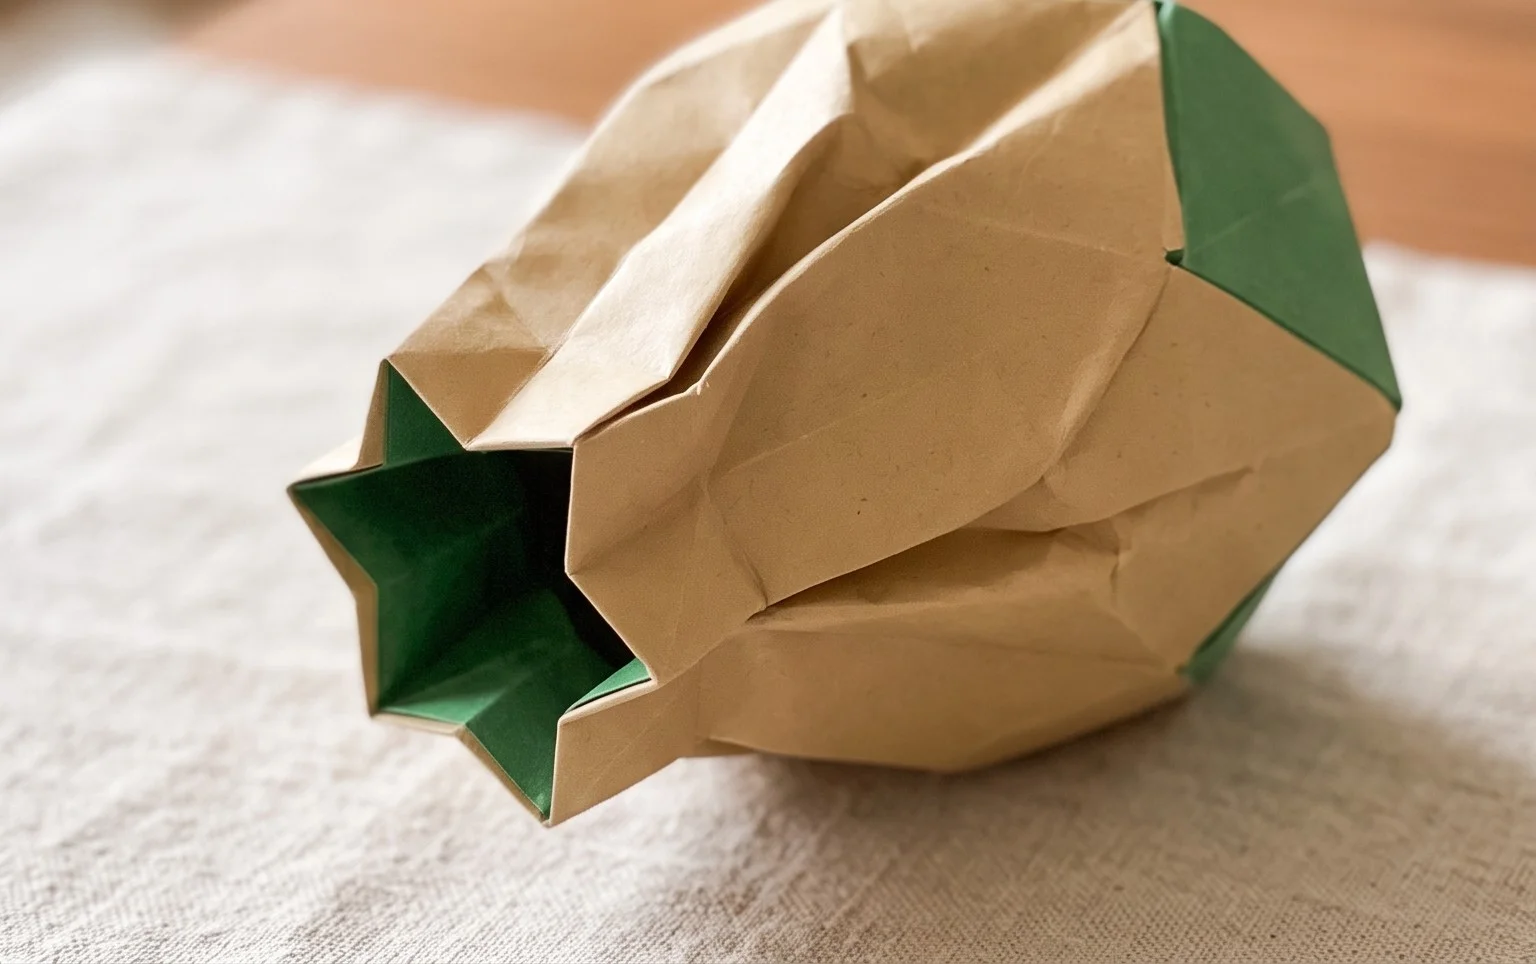
Congratulations on completing your origami vase! Don’t worry if your first attempt isn’t perfect; every origami artist started somewhere, and practice truly makes perfect. We hope you feel proud of your beautiful creation. Why not share your finished origami vase with friends or family? They’ll be amazed by your new skill! Once you’ve mastered this design, why not try a larger version for a statement piece, or experiment with different patterned papers for a unique look? There are so many more delightful paper projects waiting for you to discover. Keep folding and exploring!