Easy Origami Butterfly: Step-by-Step Paper Craft
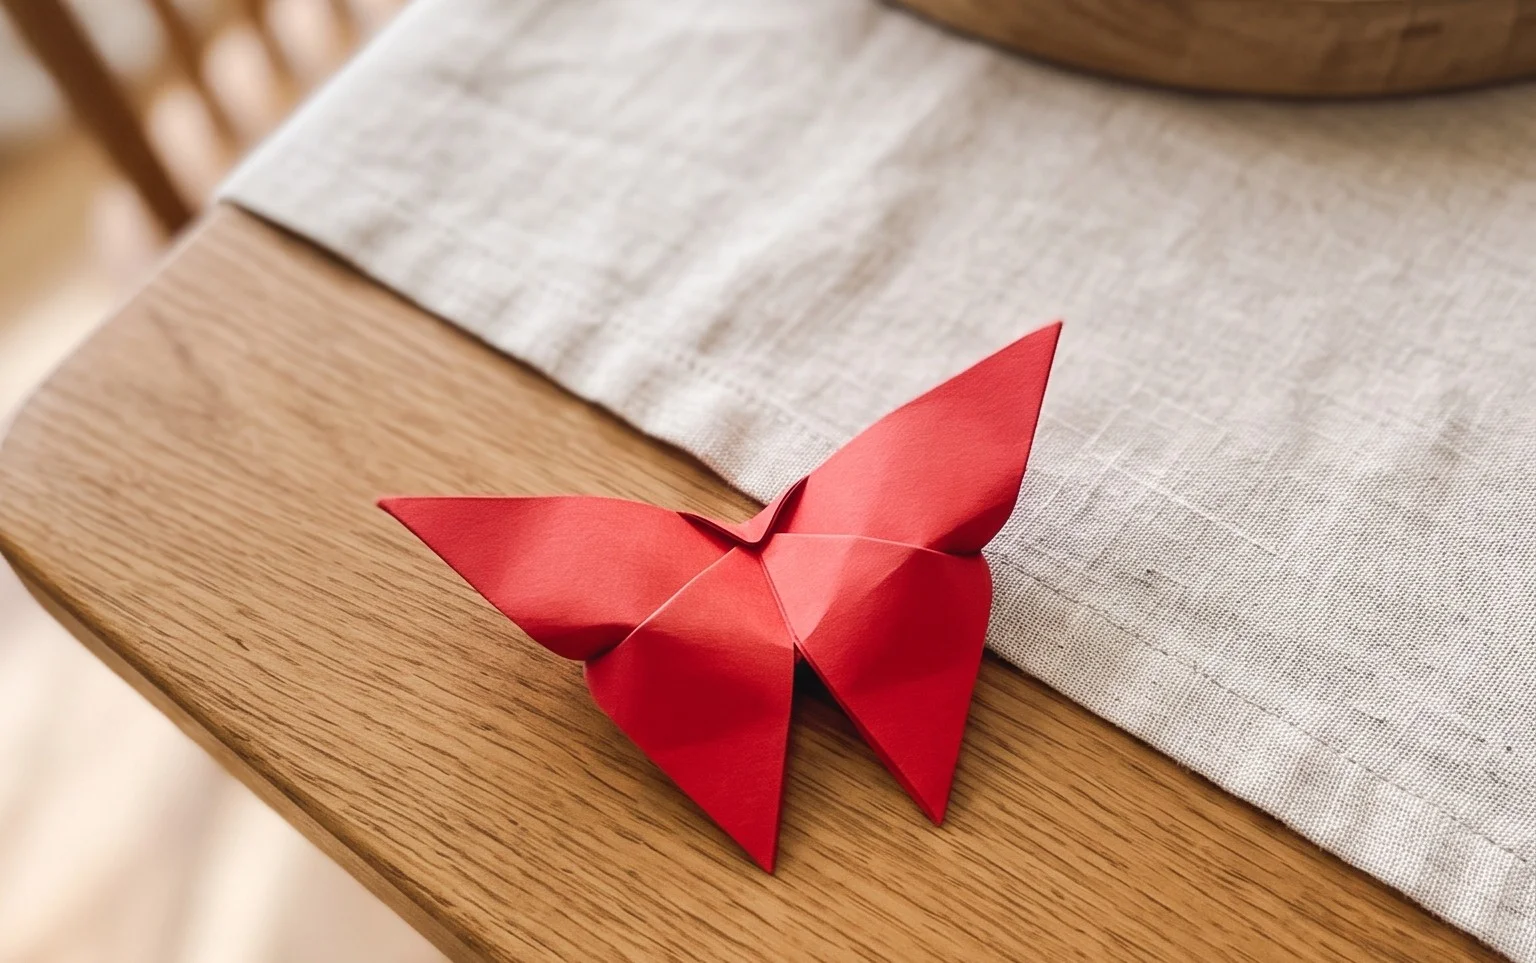
Origami Butterfly: Step-by-Step Instructions await you! Get ready to create a delicate, fluttering masterpiece that will bring a touch of whimsical charm to any space. Imagine a graceful butterfly, its wings spread wide, ready to take flight, crafted entirely from a single sheet of paper. This project is perfect for complete beginners, a delightful activity for kids, and makes for a wonderfully thoughtful handmade gift or a beautiful decoration for parties and rooms. In just about 5-10 minutes, you’ll transform a flat square into a stunning 3D creation.
Throughout this tutorial, we’ll guide you through each fold with clear, easy-to-follow steps. You’ll learn essential origami techniques like creating valley and mountain folds, and how to bring your paper to life with precision and care. So grab your favorite paper, take a deep breath, and let’s get folding!
## Origami Butterfly: Step-by-Step Instructions
Hello, fellow paper enthusiasts! Today, we’re going to embark on a delightful journey to create a beautiful origami butterfly. This is a wonderful project for beginners, offering a satisfying sense of accomplishment with each fold. We’ll go through it step-by-step, ensuring you can follow along with just words, no diagrams needed. So, grab your paper, take a deep breath, and let’s begin transforming a flat sheet into a delicate winged creature!
### Choosing Your Paper
The first step in any origami project is selecting the right paper. For our butterfly, the choice can significantly impact the final look and ease of folding.
* **Type of Paper:** Standard origami paper is ideal. It’s thin enough to allow for multiple folds without becoming bulky, yet strong enough to hold creases well. If you don’t have dedicated origami paper, thin printer paper can work, but it might be a little stiffer. Avoid cardstock or very thick construction paper, as these will be difficult to fold precisely.
* **Weight:** Origami paper typically ranges from 60-90 gsm (grams per square meter). Anything in this range will be suitable. Heavier paper is harder to fold, and lighter paper can sometimes tear.
* **Size:** For a good-sized butterfly that’s easy to handle, I recommend starting with squares that are 6 inches (approximately 15 cm) or 8 inches (approximately 20 cm) on each side. Smaller sizes can be a bit fiddly for your first try, while larger sizes can result in a very grand butterfly!
* **Single or Double Sided:** This is where you can add personality to your butterfly.
* **Single-Sided Paper:** If you use paper that’s colored on one side and white on the other, your butterfly will have colored wings with white undersides. This can create a lovely subtle contrast.
* **Double-Sided Paper:** If you use paper that’s colored on both sides (or patterned on both sides), your entire butterfly will be brightly colored. This is often the most popular choice for a vibrant butterfly.
For your very first butterfly, I’d suggest using double-sided colored paper in a size around 6 inches. It makes the color changes throughout the folding process easier to see.
### Essential Base Folds
Before we dive into the butterfly itself, let’s get familiar with a couple of fundamental origami folds. Practicing these will make the butterfly folds much smoother.
* **Valley Fold:** Imagine you’re folding a piece of paper in half to create a “V” shape, like a valley. You bring two edges or corners together, and then press down along the crease. The crease itself will appear as an inward fold.
* **Mountain Fold:** This is the opposite of a valley fold. Instead of bringing edges together to form a valley, you crease the paper so the fold sticks outwards, like a mountain peak. We’ll often make a valley fold and then unfold it, and then make a mountain fold along the same line.
* **Squash Fold:** This is a bit more dynamic. You usually start with a flap of paper. You open the flap, and then flatten it down by pressing the edges inwards, essentially squashing it into a smaller, flatter shape.
* **Petal Fold:** This is a combination of folds often used to create points or refine shapes. You typically make a few creases, lift a flap, and then press it down so that it forms a pointed shape. We’ll encounter something similar in our butterfly.
For any fold, the key to a clean crease is to be precise with your alignment and then run your fingernail or a bone folder firmly along the folded edge. This “sets” the crease and makes subsequent folds much easier and neater.
### Your Origami Butterfly: A Numbered Walkthrough
Let’s get folding! We’ll start with our square of paper, colored side up if you’re using single-sided paper.
1. **Diagonal Fold:** Take one corner of the square and bring it precisely to meet the opposite corner. Press down firmly to make a diagonal crease. You now have a triangle. Unfold this.
2. **Second Diagonal Fold:** Now, take the other pair of opposite corners and bring them together. Crease firmly. You should now have two diagonal creases forming an “X” on your paper. Unfold this.
3. **Horizontal Fold:** Flip your paper over so the white side is facing you (if you’re using single-sided paper). Bring the bottom edge up to meet the top edge, aligning them perfectly. Crease firmly across the middle. You now have a rectangle. Unfold this.
4. **Vertical Fold:** With the paper still white side up, bring the left edge over to meet the right edge, aligning them precisely. Crease firmly. You now have a smaller square. Unfold this.
5. **Forming the Waterbomb Base:** This is where we combine our creases. Turn your paper so the colored side is facing you again. Gently push the left and right sides of the paper inwards along the vertical crease you just made. As you do this, the top and bottom edges should naturally come together. Flatten the paper down into a smaller triangle. This is called the Waterbomb Base. It should look like a triangle with two flaps on each side.
6. **Folding the Wings (First Side):** Place the triangle with the open edges facing you and the point facing away. Take the right corner of the top flap and fold it up towards the top point of the triangle. Align the bottom edge of this flap with the center vertical crease. Crease firmly.
7. **Repeat for the Left Wing:** Do the exact same thing with the left corner of the top flap. Fold it up towards the top point, aligning its bottom edge with the center vertical crease. You should now have two triangular flaps pointing upwards, forming the upper part of your butterfly’s wings.
8. **Flipping Over:** Carefully flip your entire model over. You should see the smooth, folded underside of the triangle.
9. **Folding the Body and Lower Wings:** Now, we’re going to fold the point of the triangle upwards. Take the bottom point (the one that was the tip of your original square) and fold it upwards. You want to fold it so that the very tip of this point extends a little bit beyond the top edge of the model. How far beyond depends on the size of your butterfly – about half an inch to an inch is a good starting point. Crease firmly.
10. **Securing the Body:** This is a crucial step that forms the butterfly’s body. Take the tip you just folded upwards and fold it *backwards* and *downwards*. You are essentially creating a small fold over the top edge of the model. This small fold will help hold everything together and give the butterfly a central body. The amount you fold back will determine how prominent the body looks. Crease this second fold very firmly.
11. **Final Shaping:** Gently unfold the model so that the wings can open. You should see the central body formed by the fold in step 10. Gently pull the wings apart. You can also gently bend the wings upwards to give your butterfly a more three-dimensional appearance.
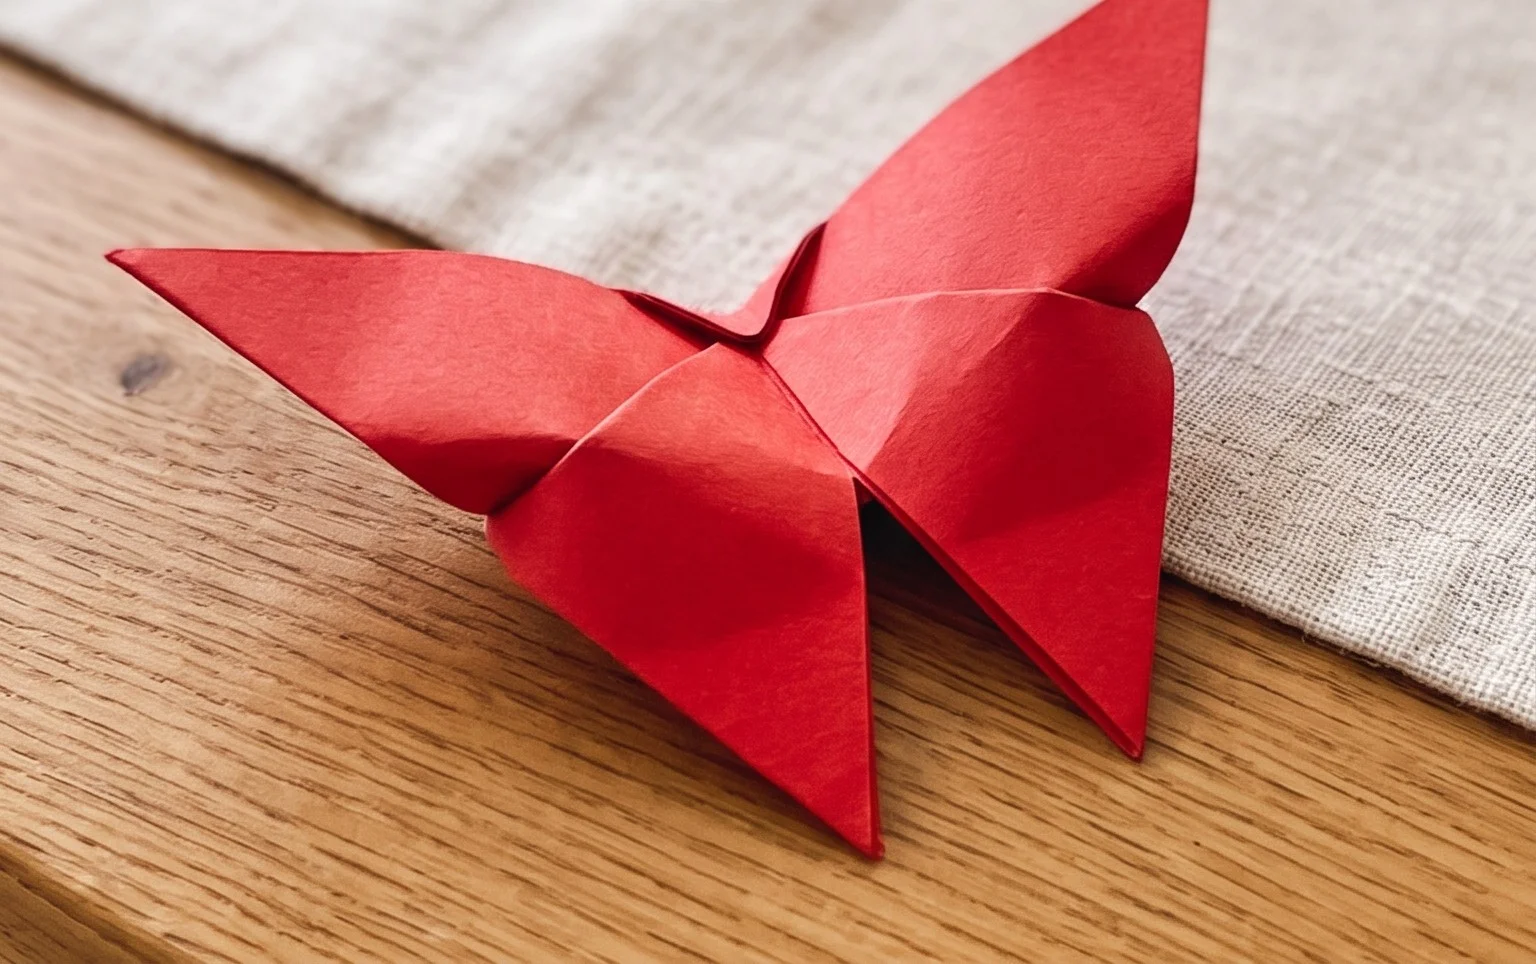
And there you have it! You’ve just created your first origami butterfly!
### Common Pitfalls and How to Avoid Them
Even with clear instructions, beginners sometimes encounter a few sticky points. Let’s address them:
* **Not Aligning Edges Precisely:** This is the most common issue. When you’re folding edges together, take a moment to ensure they meet perfectly before creasing. Even a slight misalignment at the beginning can lead to a lopsided butterfly. Take your time, and if you’re off, gently unfold and try again.
* **To Avoid:** Focus on touching the corners and edges together first, *then* make your crease. Imagine you’re pinning two pieces of paper together.
* **Fuzzy or Weak Creases:** If your creases aren’t sharp, the folds won’t hold their shape, and your butterfly might look a bit floppy.
* **To Avoid:** After bringing your edges or corners together, use your fingernail, a ruler, or a dedicated bone folder to firmly run along the entire length of the crease. Press down with purpose!
* **Difficulty with the Waterbomb Base (Step 5):** This can be a tricky maneuver if you’re new to it. The paper seems to want to go in a different direction.
* **To Avoid:** Make sure all your previous valley and mountain folds are crisp. When you push the sides inwards, visualize the paper ‘collapsing’ along those pre-made creases. Don’t force it; let the creases guide it. Gently coax the paper into the triangular shape.
### Varying Your Butterfly
The beauty of origami is its versatility. Here’s how you can make your butterflies unique:
* **Size:** As mentioned, using larger or smaller squares will obviously change the size of your butterfly. Experiment with different origami paper sizes to create a whole swarm!
* **Paper Pattern:** This is where you can have a lot of fun!
* **Floral patterns:** For a delicate, garden-inspired look.
* **Geometric patterns:** To create a more modern and abstract butterfly.
* **Chiyogami or Washi paper:** These often have intricate and beautiful traditional Japanese designs.
* **Even plain colored paper:** You can use different shades to create a cohesive collection.
* **Color Combinations:**
* **Single-sided paper:** Use a bright color on one side and a more subdued color or white on the other.
* **Double-sided paper:** Some papers have different colors on each side, or one side patterned and the other colored. Play with these combinations!
* **Hand-decorated paper:** If you’re feeling artistic, you can even decorate plain paper with markers or stamps before folding!
### Displaying and Gifting Your Butterflies
Once you’ve mastered the fold, you’ll have a beautiful creation to admire and share.
* **Mobile:** String several butterflies together with fishing line or thread to create a stunning mobile that gently sways in the breeze. Hang it by a window or from the ceiling.
* **Garland:** Punch a small hole in the body of the butterfly and thread them onto a string to create a charming garland for decorating a party, a child’s room, or a craft fair display.
* **Embellishments:**
* **On Gifts:** Glue or tape a butterfly onto a wrapped gift for an extra special touch.
* **On Cards:** Attach a butterfly to a handmade card to make it pop.
* **Bookmarks:** A small butterfly can be a lovely and functional bookmark.
* **Table Scatter:** Scatter a few butterflies on a dining table for a whimsical centerpiece.
* **Gifting:** Origami butterflies make wonderful, thoughtful gifts. They are handmade, unique, and bring a touch of delicate beauty. Package them carefully in a clear box or a small envelope to protect their wings. You could even gift a set of three, five, or seven, as odd numbers are often considered lucky.
Creating origami butterflies is a rewarding experience that offers endless possibilities for creativity and beauty. Don’t be discouraged if your first few aren’t perfect; practice is key in origami. Enjoy the process, and soon you’ll be folding aflutter of these lovely creatures! Happy folding!
Conclusion
Congratulations on completing your origami butterfly! Don’t worry if your first one isn’t perfect; every fold is a step in your paper-folding journey. The beauty of origami lies in the process, and with each attempt, your skills will blossom. We encourage you to share your lovely origami butterfly with friends and family – they’ll surely be impressed!
Ready to try something new? Experiment with different colored papers for your next butterfly, or perhaps try a slightly more complex variation like a flapping butterfly. There are countless paper projects waiting for you to discover. Keep folding, and happy creating!