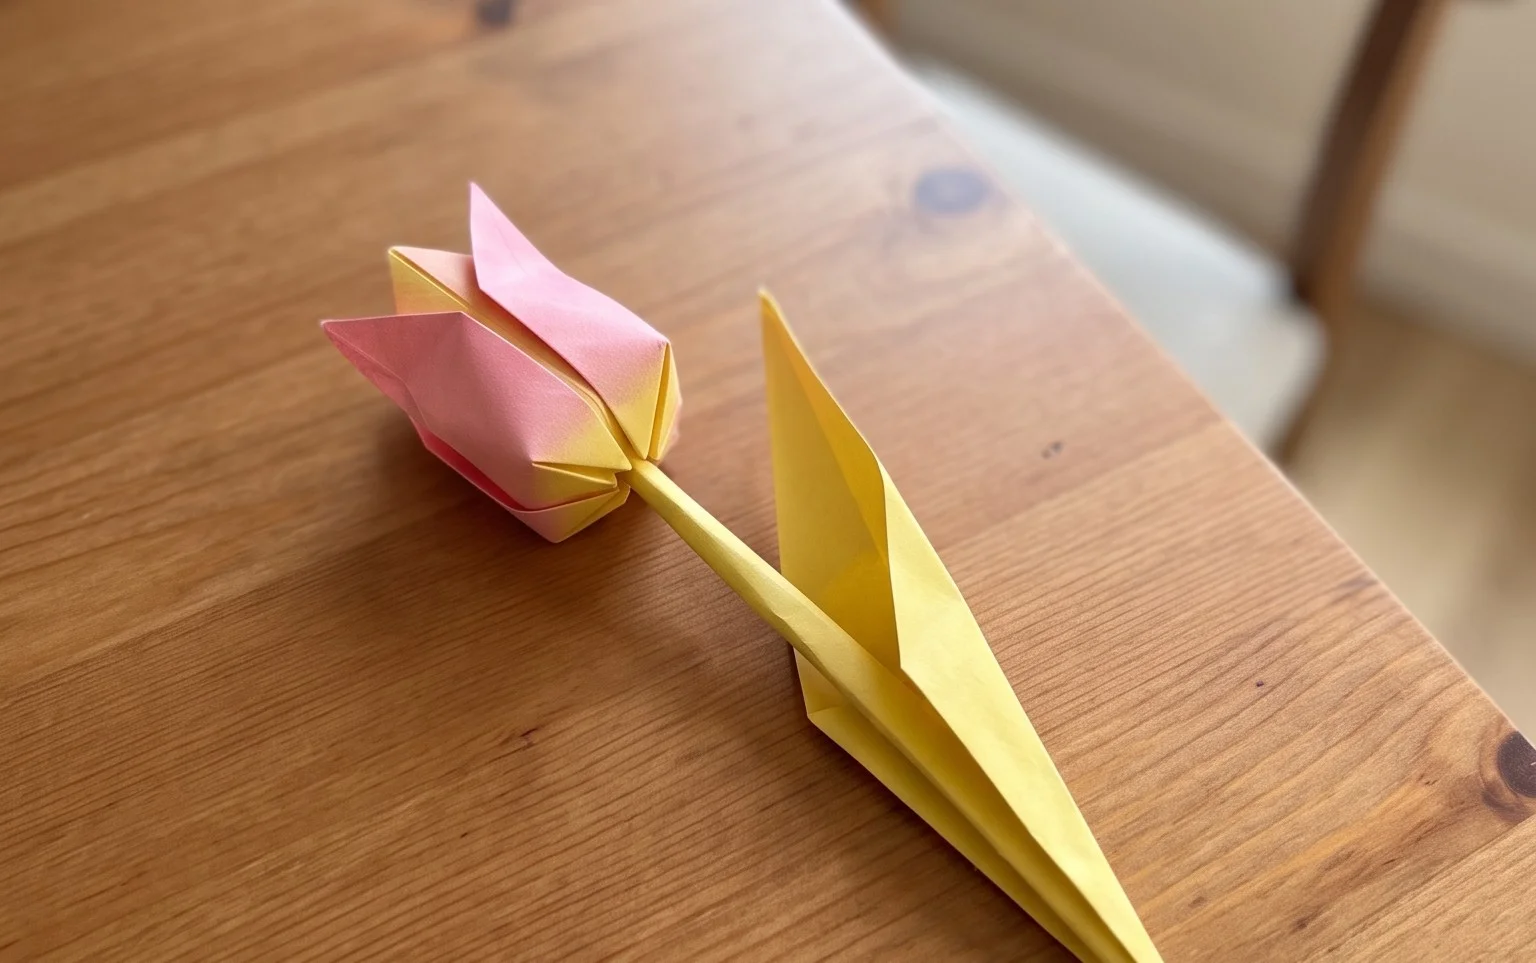
Easy Origami Succulent Plants: Kawaii Paper Craft Tutorial
Mini origami succulent plants are such a delightful and charming way to bring a touch of nature into your space without any watering required! In this tutorial, I’ll guide you step-by-step to create these adorable, tiny paper plants, complete with their textured, layered leaves that mimic the real thing. They look so sweet clustered together in a little pot or even adorning a bookshelf. This project is perfect for complete beginners, and kids will love making their own mini green friends. It takes about 15-20 minutes per succulent, making it a fun and quick craft session. We’ll be mastering a few simple folds to build up the body and create those signature rosette shapes. Let’s get folding and cultivate some paper greenery together!
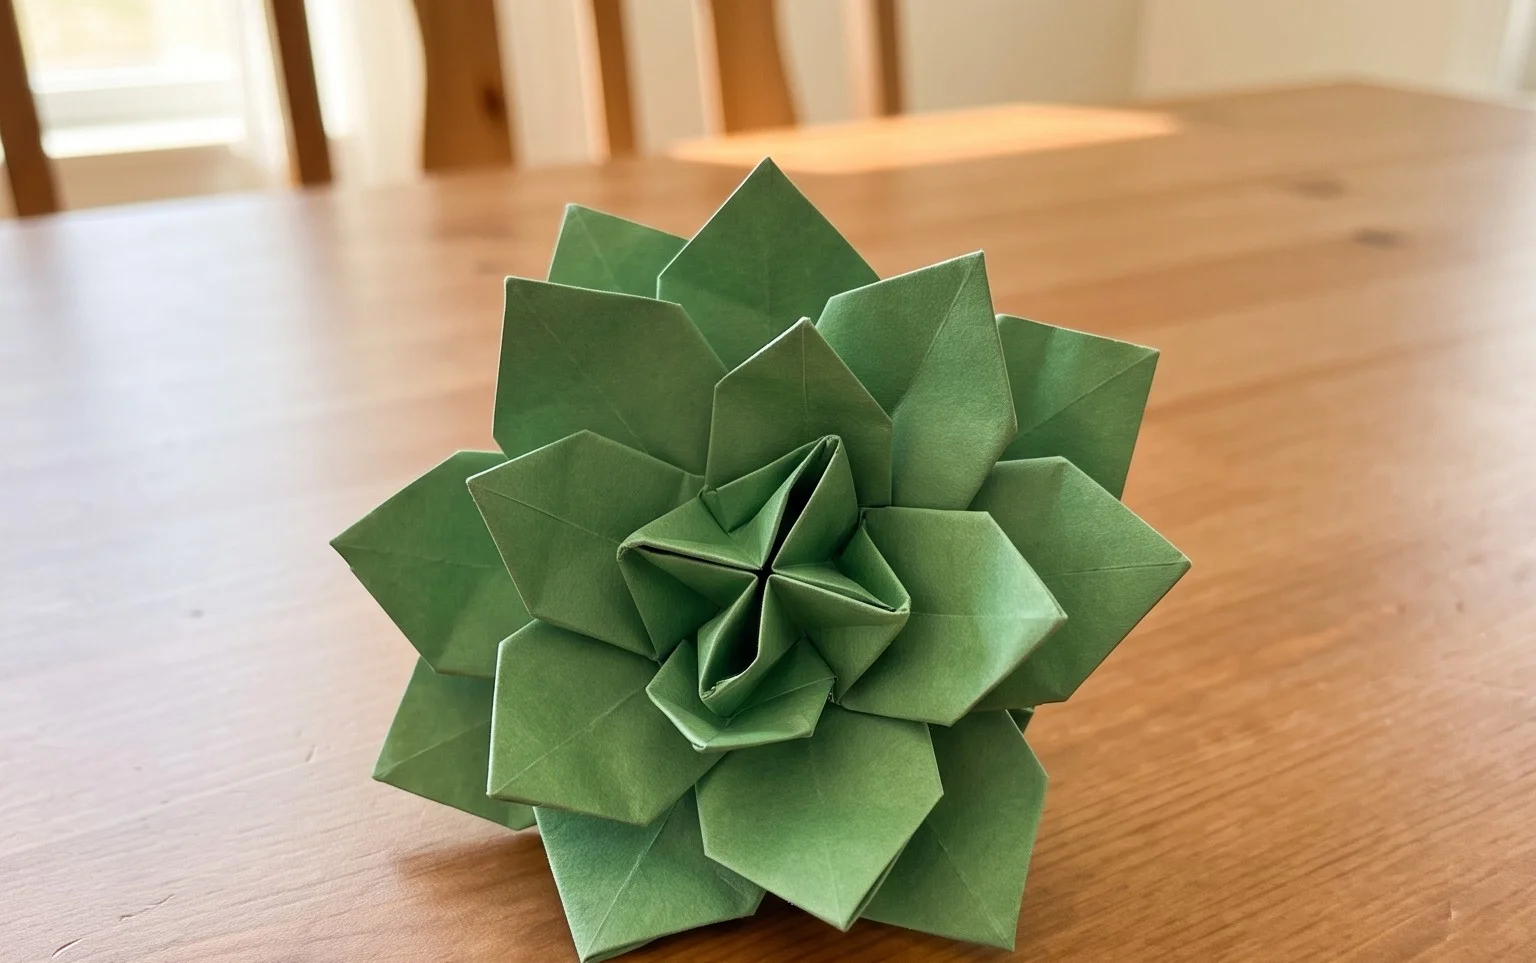
Mini Origami Succulent Plants Tutorial
Hello origami enthusiasts! Today, we’re diving into the delightful world of paper plants with this mini origami succulent tutorial. These little cuties are incredibly satisfying to make, don’t require any watering, and add a charming touch to any space. Perfect for beginners and experienced folders alike, this project is all about clean folds and a bit of creative flair. So, let’s get our paper ready and start folding!
Choosing Your Paper: The Foundation of a Blooming Succulent
The right paper can make all the difference in achieving that perfect, lush succulent look. For these mini succulents, I recommend using standard origami paper. Here’s why and what to look for:
Type: Standard origami paper, also known as kami paper, is ideal. It’s crisp, holds a crease beautifully, and is usually designed for folding. Avoid very thick cardstock, as it can be difficult to fold precisely, and thin printer paper, which might be too flimsy and not hold its shape well.
Weight: Origami paper typically falls within the range of 60-80 gsm (grams per square meter). This weight is perfect for our mini succulents, offering enough structure without being overly stiff.
Size: For these mini succulents, a square piece of paper around 3 inches (7.5 cm) by 3 inches (7.5 cm) works wonderfully. This size makes the finished succulent small enough to be a charming accent or to be grouped together, but large enough that the folds are manageable for beginners. You can certainly experiment with larger squares if you want bigger succulents!
Single or Double Sided: This is where you can really have fun!
Single-sided paper: If you use single-sided origami paper, choose a color that you want your succulent to be for the colored side. The white side will be hidden for the most part, but it can show a little on the inner edges of the petals. This is a classic choice and always looks great.
Double-sided paper: This offers a bit more visual interest. You can use paper that has two different colors, or even patterns on each side. For our succulents, I find that using a paper with a slightly lighter or subtly patterned side for the “inside” of the petals adds a lovely depth, as if the plant has natural variations. Just decide which color or pattern you want to be the primary color of your succulent before you start. For this tutorial, let’s assume we are using a single-sided paper with a vibrant green on one side and white on the other. We want the green side to be the main color of our succulent.
Base Folds: Setting the Stage for Success
Before we get to the succulent itself, let’s cover a couple of fundamental folds that are essential for clean and precise origami. Mastering these will make all your future projects easier!
The Valley Fold: This is the most basic fold. Imagine you’re folding a piece of paper in half to create a crease that dips downwards, like a valley. You bring one edge or corner to meet another, press firmly along the fold, and then unfold.
The Mountain Fold: This is the opposite of a valley fold. When you unfold a valley fold, the crease itself forms a “mountain” that sticks upwards. In origami, we often make a mountain fold by pre-creasing a valley fold and then reversing it, or by folding the paper away from you.
For this succulent, we’ll be using both valley and mountain folds, often in combination. The key to making them cleanly is to align edges and corners precisely before creasing, and to run your fingernail firmly along the fold line.
Numbered Walkthrough: Folding Your Mini Origami Succulent
Let’s begin! I’ll guide you through each step in plain language, assuming you have your square piece of paper with the colored side facing down, and the white side facing up.
1. Start with your white side facing up. Fold the paper in half horizontally, bringing the bottom edge up to meet the top edge. Crease firmly. You will now have a rectangle.
2. Unfold the paper. You should have a horizontal crease in the middle.
3. Fold the paper in half vertically, bringing the left edge over to meet the right edge. Crease firmly. You will now have a narrower rectangle.
4. Unfold the paper. You should now have two perpendicular creases, dividing your square into four smaller squares.
5. Flip the paper over so the colored side is now facing up.
6. Fold the paper in half diagonally, bringing the bottom right corner up to meet the top left corner. Crease firmly. You will have a triangle.
7. Unfold the paper.
8. Fold the paper in half diagonally again, this time bringing the bottom left corner up to meet the top right corner. Crease firmly. You will have another triangle.
9. Unfold the paper. You should now have two diagonal creases forming an ‘X’ across your square, intersecting the horizontal and vertical creases you made earlier.
10. Now, we’re going to collapse the paper into a preliminary base, sometimes called a waterbomb base, but we’ll do it a bit differently to create our succulent structure. Hold the paper with the colored side up. Gently push the left and right sides inwards along the vertical crease you made. As you push inwards, the top and bottom edges will start to meet.
11. Encourage the paper to collapse downwards along the diagonal creases. The goal is to bring the top point down to meet the bottom point, with the sides folding inwards. You should end up with a smaller square shape, with all the raw edges at the bottom and a closed point at the top. This is our starting point for the succulent petals.
12. With the closed point of your square facing upwards, and the open flaps at the bottom, take the top layer of the right flap. Fold its bottom edge up to meet the center vertical crease. Crease firmly.
13. Repeat step 12 with the top layer of the left flap. Fold its bottom edge up to meet the center vertical crease. Crease firmly. You should now have two triangular flaps meeting in the middle, resembling a kite shape on top.
14. Flip the entire model over.
15. Repeat steps 12 and 13 on this side. Fold the bottom edge of the top right flap up to the center vertical crease. Crease firmly.
16. Fold the bottom edge of the top left flap up to the center vertical crease. Crease firmly. You should now have the kite shape on both sides.
17. Now, look at the top point of your model. You’ll see two smaller triangular flaps pointing upwards. Take the right one and fold it down over the kite shape you just created, aligning its point with the bottom of the kite. Crease firmly. This fold will act as a lock.
18. Repeat step 17 with the left triangular flap. Fold it down over the kite shape, aligning its point with the bottom of the kite. Crease firmly.
19. Flip the model over. You should see the two triangular flaps you just folded down.
20. Now, we are going to create the succulent petals. Take the top layer of the right side. You will see a crease running diagonally from the top point down to the side. We need to make a pleat fold. Imagine you are opening up the kite shape slightly. Fold the right edge inwards along the existing diagonal crease, but instead of folding it flat, we’re going to make a narrow pleat. This means you are folding a thin strip of paper inwards. Think of it like creating a long, narrow petal. The fold should start from the top point and go down towards the bottom. The amount you fold inwards will determine how “full” your succulent petals are. Aim for about a quarter inch (or about 0.5 cm) of paper to be folded inwards. This is a tricky fold, so take your time.
21. Repeat step 20 on the top layer of the left side. Fold the left edge inwards along the diagonal crease, creating a narrow pleat.
22. Flip the model over.
23. Repeat steps 20 and 21 on this side. Fold the right edge inwards along the diagonal crease, creating a narrow pleat.
24. Fold the left edge inwards along the diagonal crease, creating a narrow pleat.
You should now have a shape that looks like a flattened diamond with multiple layers. This is your basic succulent shape!
25. To open up your succulent, hold the bottom of the model with one hand. With your other hand, gently pull outwards on the two outermost flaps on each side. As you pull, the inner layers will unfurl and begin to take on a petal-like appearance. Don’t pull too hard, you want it to open up gracefully.
26. You can gently curl the edges of the opened petals outwards with your finger to give it a more natural, organic look.
Congratulations, you’ve just folded a mini origami succulent!
Common Beginner Pitfalls and How to Avoid Them
Even with clear instructions, sometimes origami can be a little tricky. Here are a couple of places beginners often encounter issues, and how to navigate them:
1. The Preliminary Base Collapse (Step 11): This is often the first major hurdle. If your paper isn’t creased precisely from steps 1-9, collapsing it into that smaller square can be difficult.
* How to avoid: Go back and re-crease all your diagonal, horizontal, and vertical folds firmly. Ensure the paper is perfectly aligned before you make each crease. When you get to step 10, don’t force it. Gently push the sides inwards and let the diagonal creases guide the collapse. Visualize the paper folding into itself.
2. The Pleat Folds for Petals (Steps 20-23): These narrow pleats can be challenging to execute evenly. If they’re too wide, the succulent will look flat. If they’re too narrow, it might not open up well.
* How to avoid: Before you make the final crease for the pleat, lightly fold the edge inwards to get a feel for how much you’re folding. Aim for a consistent width – think of a thin strip of paper. It’s better to under-pleat slightly and then adjust than to over-pleat and have it buckle. Also, make sure you are folding along the existing diagonal crease from the previous kite shape; this is crucial for the structure. Don’t be afraid to unfold and refold these if they don’t look right the first time.
Varying Your Succulents: A Touch of Personalization
One of the joys of origami is its versatility. Here’s how you can customize your mini succulents:
Size: As mentioned, you can start with a larger square of paper. If you use a 6-inch (15 cm) square, your succulent will be twice the size. Just follow the same folding sequence. You can also go smaller by using 2-inch (5 cm) squares, though very small folds can be fiddly.
Paper Pattern: This is where you can get really creative!
Solid Colors: Classic greens, blues, purples, and even reds or oranges can create stunning, realistic-looking succulents.
Variegated Paper: Papers that have subtle color gradients or mottled effects can mimic the natural textures of succulents beautifully.
Patterned Paper: Floral patterns, subtle geometric designs, or even tiny polka dots can make for whimsical and unique succulents. Just ensure the pattern isn’t too busy, or it might detract from the form of the plant.
Color Combinations: For double-sided paper, try using a vibrant green on one side and a pale, almost white green or a soft pink on the other. When the petals unfurl, the subtle difference in color will add dimension. You can also experiment with the color of the “inside” of the petals.
Displaying and Gifting Your Paper Plants
These little origami succulents are so charming, you’ll want to show them off!
* Miniature Gardens: Arrange several succulents in a shallow dish or a small bowl filled with pebbles or sand to create a tiny, everlasting garden.
* Desk Decorations: Place one or two on your desk for a touch of green that requires zero maintenance.
* Gift Toppers: Adorn a gift box with a cute origami succulent instead of a traditional bow.
* Party Favors: Make a batch for a special occasion. They can be a delightful and unexpected party favor.
* Part of a Larger Display: Combine them with other origami creations or small craft items for a charming vignette.
* Terrarium Accents: Pop one into a small glass terrarium for a pop of color and texture.
I hope you enjoyed this tutorial and have a lovely collection of mini origami succulents to show for it! Don’t be discouraged if your first few aren’t perfect; practice makes perfect, and each fold is a step towards mastering this beautiful art form. Happy folding!
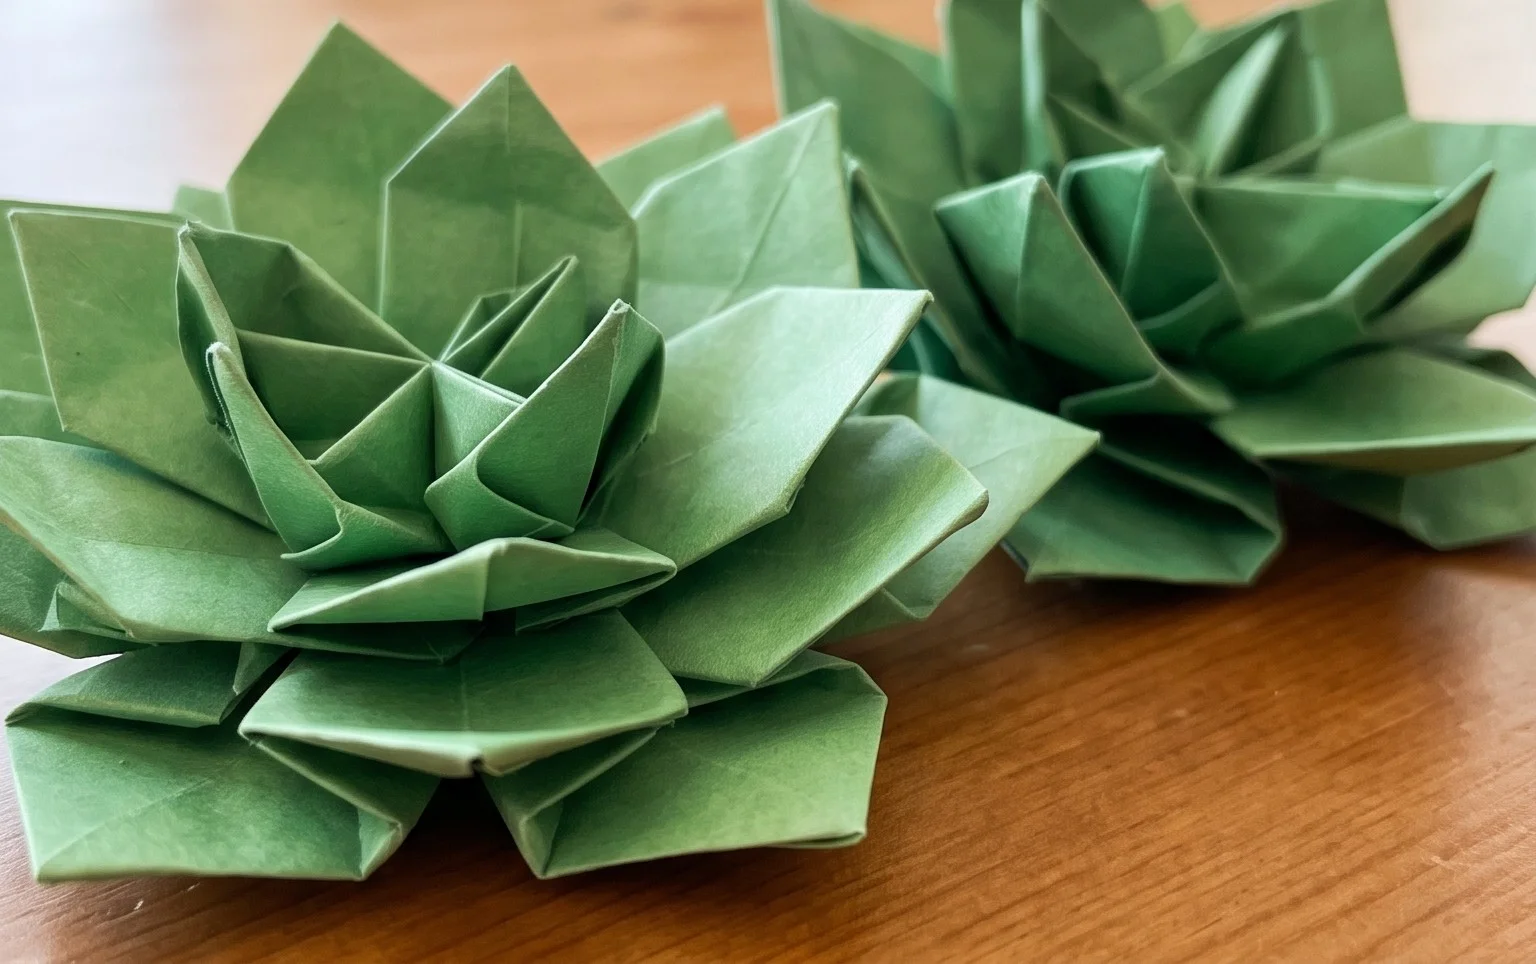
Conclusion
Congratulations on finishing your very own mini origami succulent! We hope you enjoyed this creative journey with Paper Kawaii. Don’t worry if your first attempt isn’t perfect – that’s what practice is for! The beauty of origami is in the process, and each fold brings you closer to mastery. Once you’ve proudly displayed your adorable paper plant, why not share your creation with friends and family? They’ll be amazed by your talent! For your next project, try creating a miniature origami cactus or a charming paper aloe vera. We have so many more delightful paper projects waiting for you to discover. Happy folding!